Power BI (ODBC)
Before you start
To connect Power BI to Interact Advanced Analytics, you need:
- Power BI Desktop, with a valid subscription or trial
- The AWS Athena ODBC driver
- Your Interact Advanced Analytics credentials and configuration details
- A configured ODBC connection to use in Power BI
Interact Advanced Analytics uses AWS Data Lake technologies for data querying, analysis and retrieval.
Step 1: Install Power BI Desktop
Install a version of Power BI Desktop with a valid subscription or trial. Download it from the Power BI downloads page.
Step 2: Install the AWS Athena ODBC driver
Download the latest ODBC driver from the AWS Athena ODBC driver page.
If you need an older version, see the previous ODBC driver versions.
Once downloaded, install the file. Full setup and configuration instructions are in the Simba Athena ODBC install and configuration guide.
Step 3: Gather your Advanced Analytics configuration
Your Interact Advanced Analytics configuration details are provided during technical onboarding and include:
- Server: for example, athena.eu-west-1.amazonaws.com (can be retrieved from the AWS Athena endpoints page, and can change over time)
- S3 Staging Directory: s3://{{my_bucket}}-results/ (where the query results are saved)
- Access Key ID: equivalent to the username
- Secret Access Key: equivalent to the password
- Workgroup: the workgroup name required for AWS Athena queries, for example
Inc_Ltd - Database: the Athena database where your analytics data is located
- Table Name: the Athena table where your analytics data is located
Step 4: Configure the ODBC connection
Follow the instructions below with your Interact Advanced Analytics configuration details to hand.
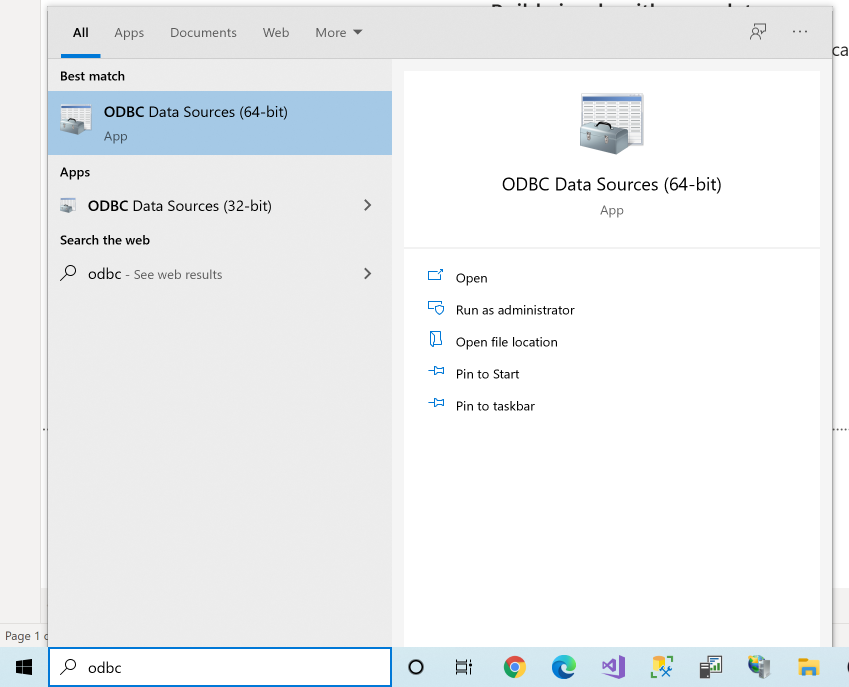
To make the ODBC connector configuration specific to a single Windows user or available system-wide, choose User DSN or System DSN accordingly. This guide uses User DSN for demonstration.
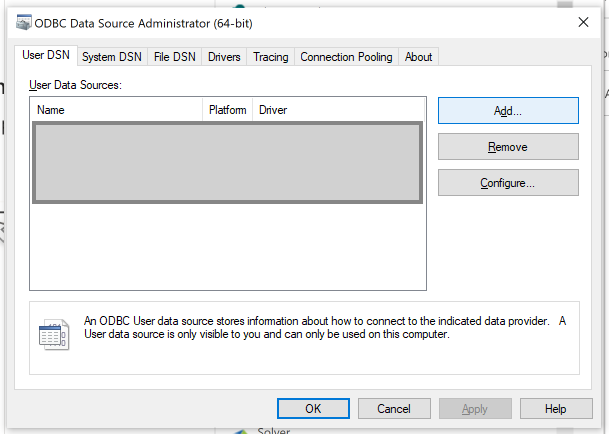
Select the Simba Athena ODBC Driver data source.
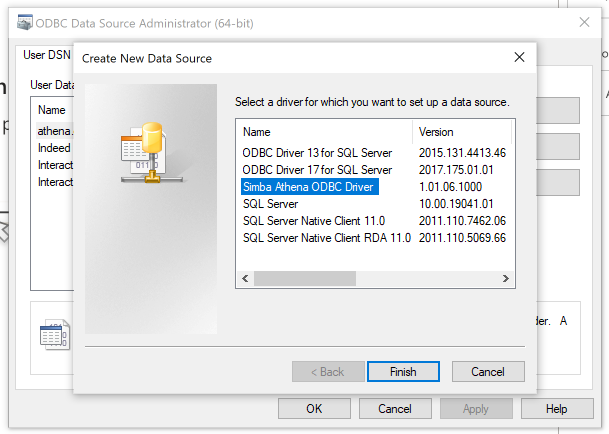
The default configuration page appears.
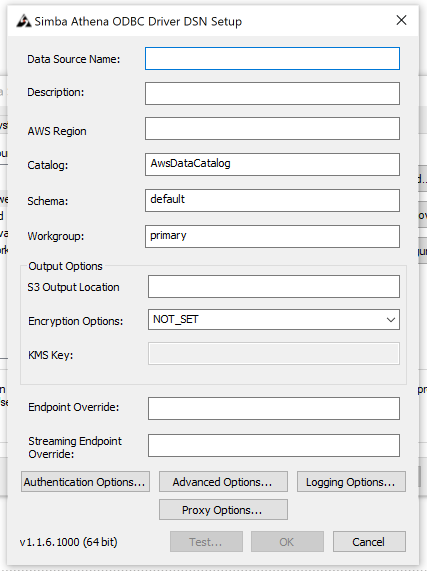
Fill in the form as shown below, replacing the {....} placeholders with the relevant Interact Advanced Analytics configuration details.
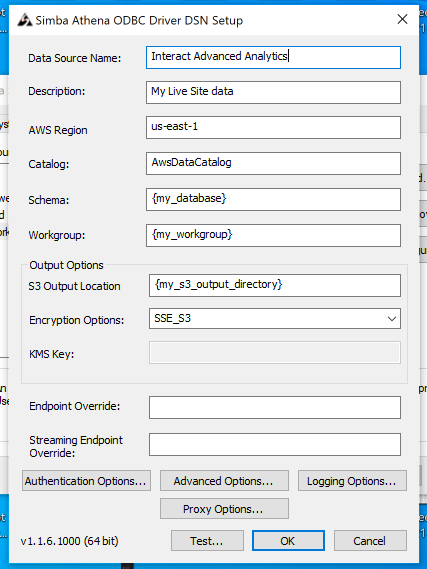
- Data Source Name: for display only. This appears in Power BI when selecting the data source, so choose something recognisable such as Interact Advanced Analytics.
- Description: for display only. For example, if you have Advanced Analytics on the live site and the sandbox, use this field to record which connection is for which site.
- AWS Region: provided to you, for example
us-east-1oreu-west-1. - Catalog: leave as the default (
AwsDataCatalog). - Schema: the Database name from the Interact Advanced Analytics configuration details.
- Workgroup: the Workgroup name from the Interact Advanced Analytics configuration details.
- S3 Output Location: the S3 Staging Directory from the Interact Advanced Analytics configuration details.
- Encryption Options: set this to
SSE_S3.
Click Authentication Options to provide the username and password.
On the next screen, set Authentication Type to IAM Credentials.
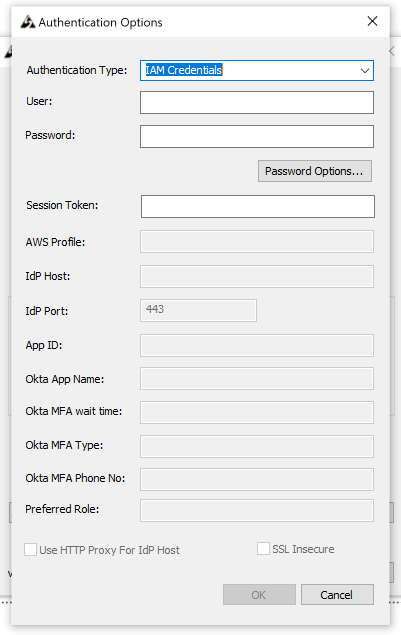
Populate the fields as follows:
- User: the Access Key ID from the Interact Advanced Analytics configuration details.
- Password: the Secret Access Key from the Interact Advanced Analytics configuration details.
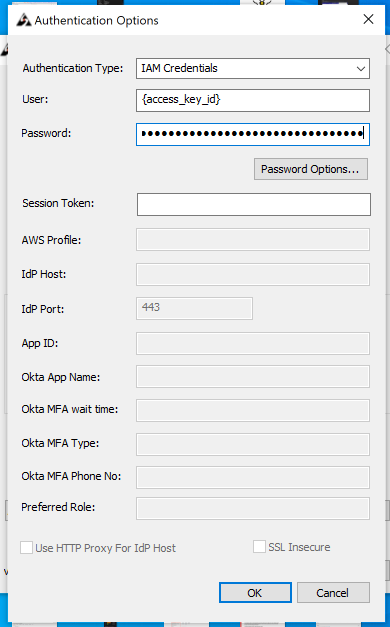
Click OK.
Step 5: Test the connection
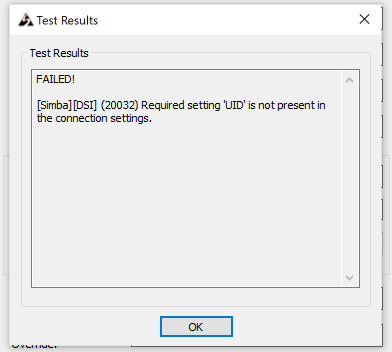
On the configuration page, click Test. If everything is configured correctly, you see a SUCCESS! message. If the test fails, recheck the previous setup steps.
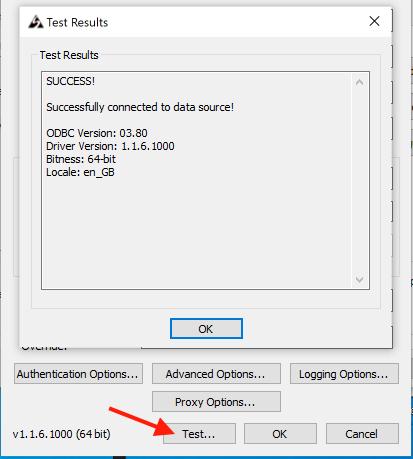
The example below shows a FAILED message.
Step 6: Connect via Power BI
With the ODBC driver installed and a working connection to Interact Advanced Analytics configured, you can load the data into Power BI.
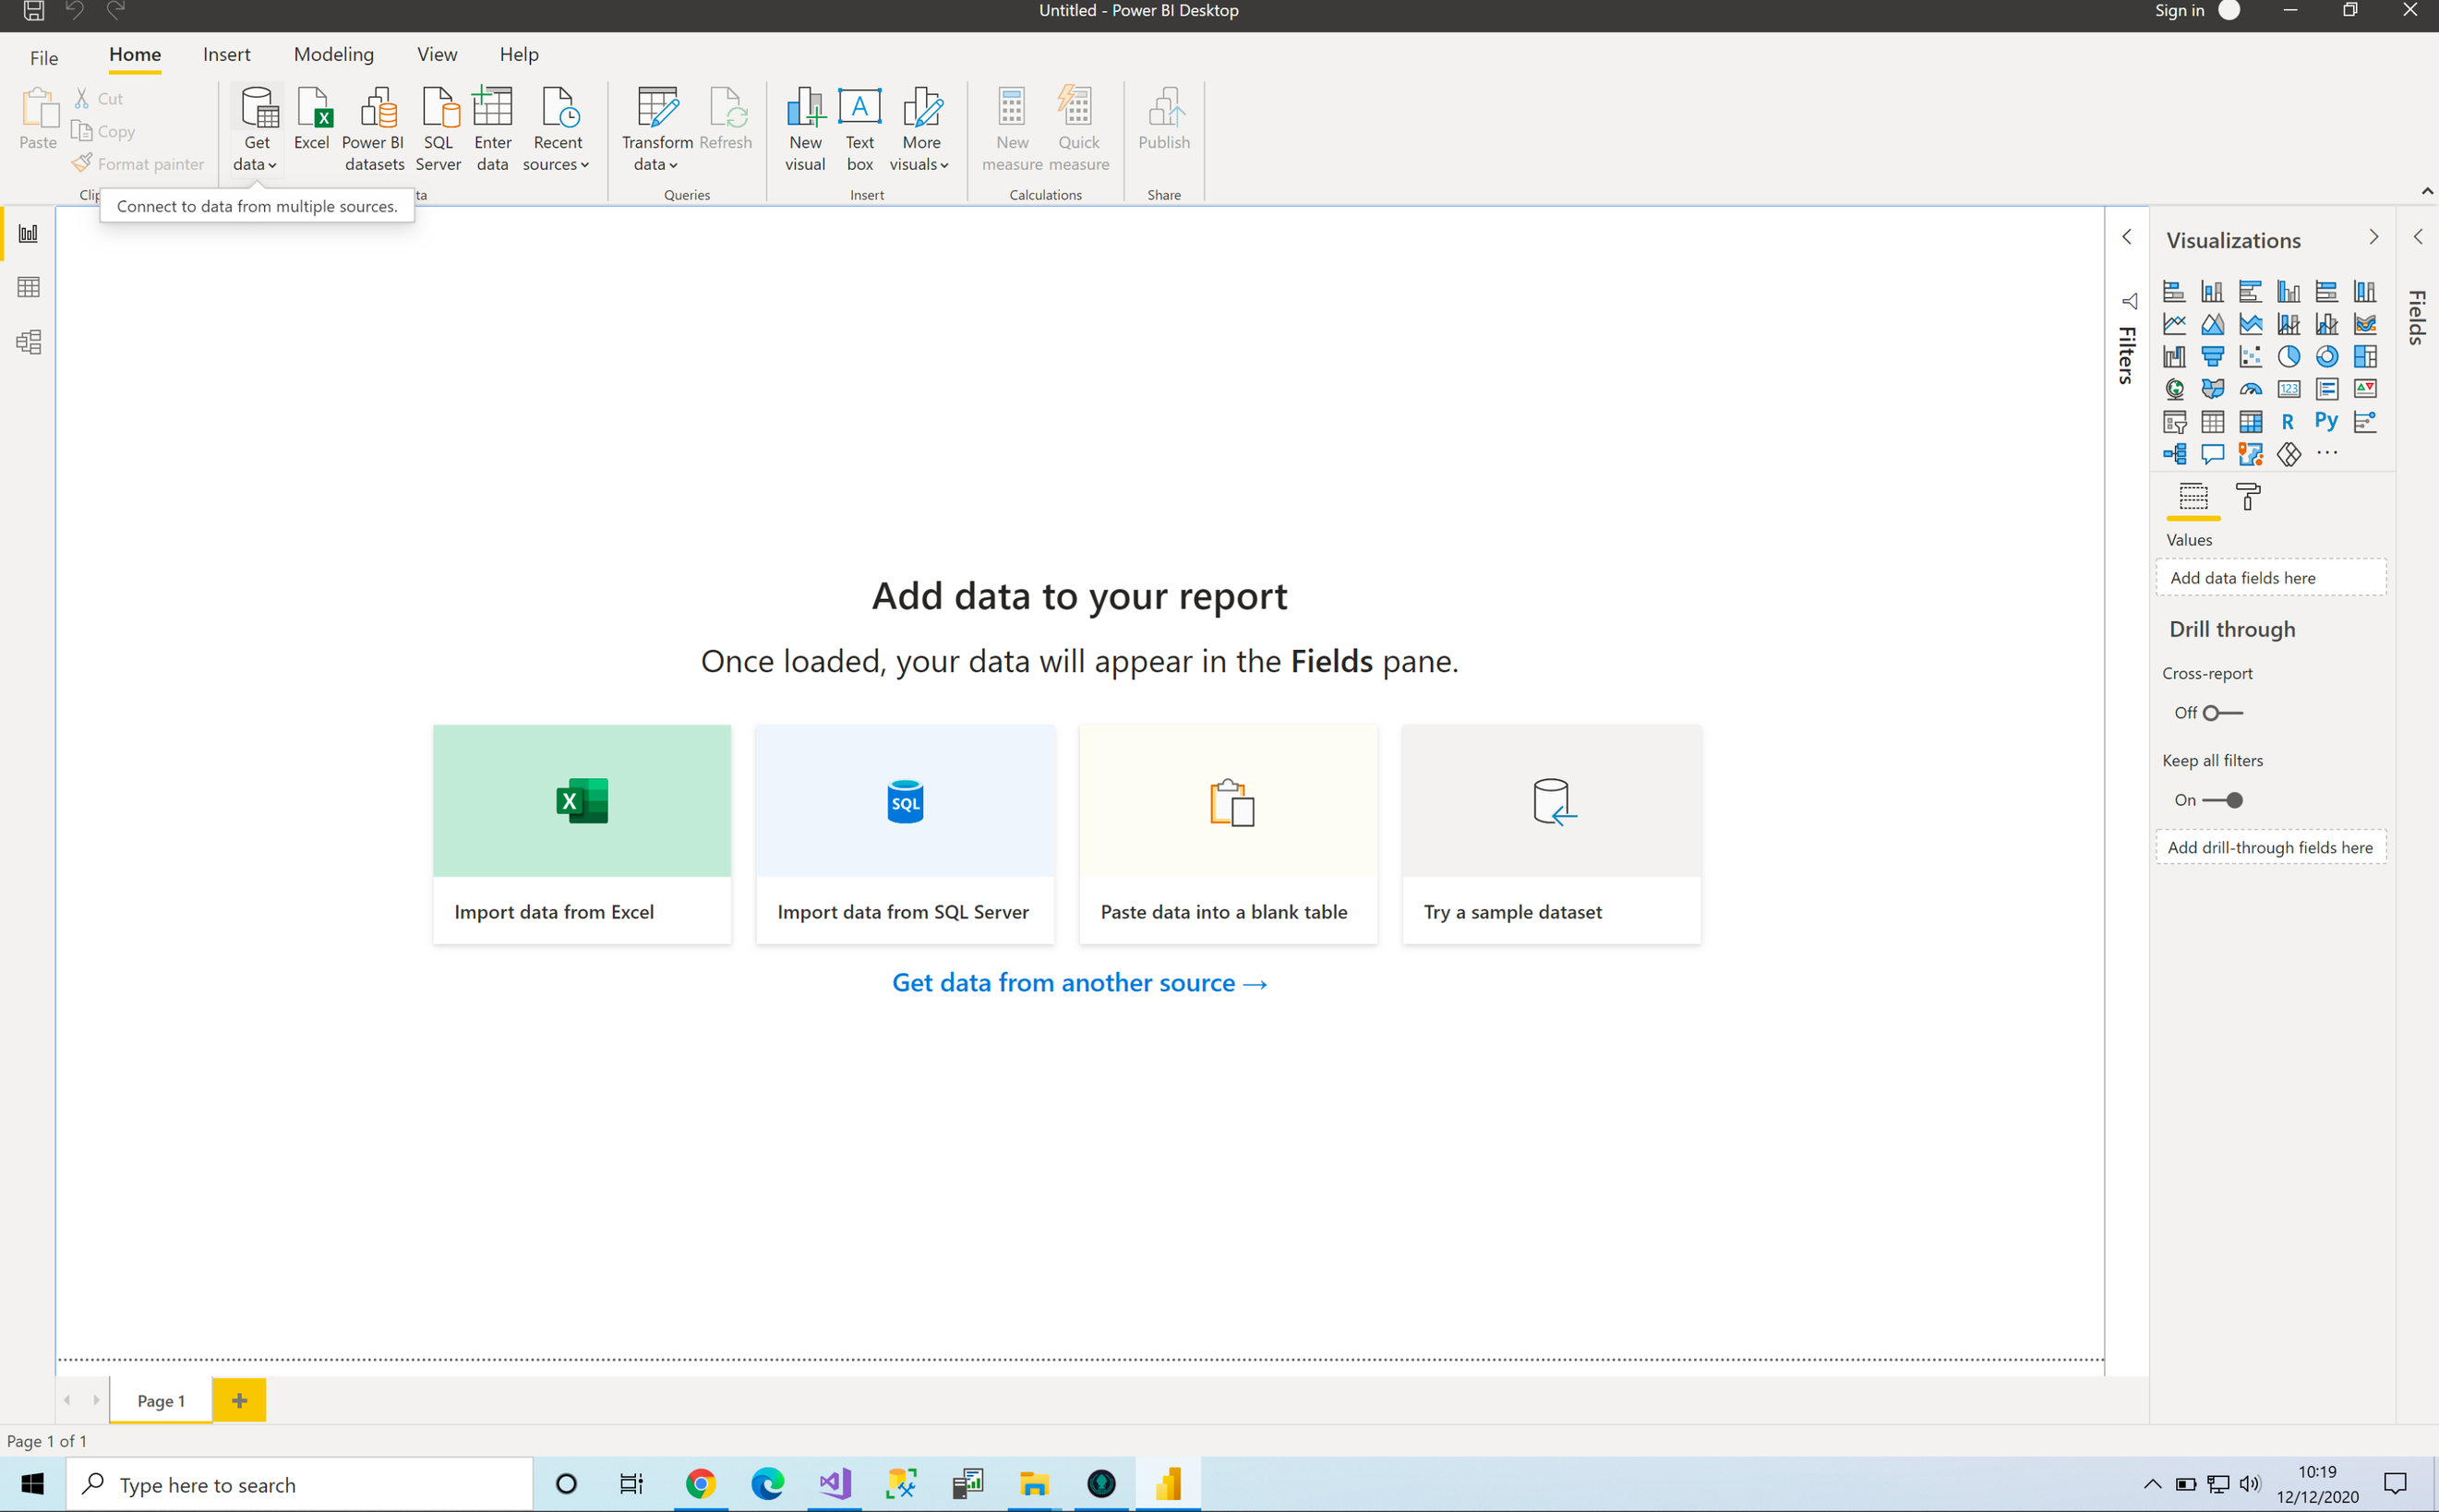
Open Power BI and click Get Data.
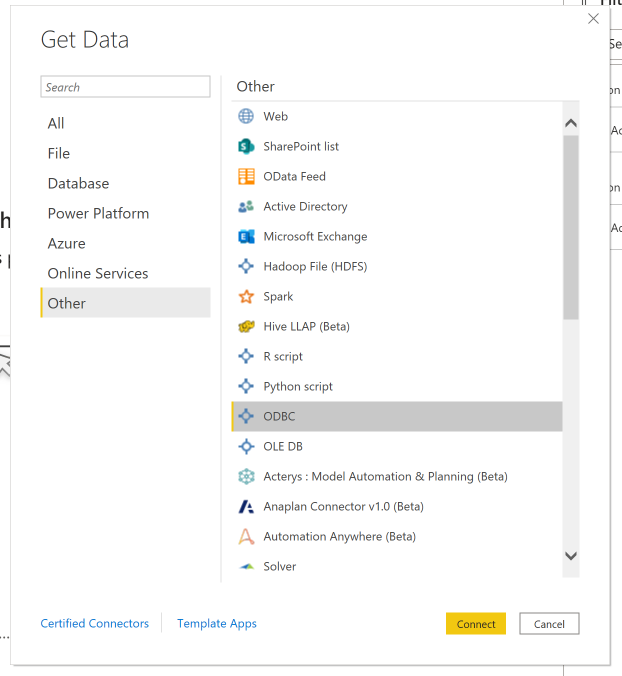
Find ODBC and click Connect.
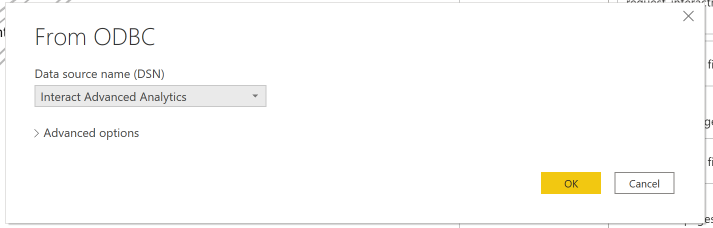
On the From ODBC page, select the newly created ODBC connection (for example, Interact Advanced Analytics), then click OK.
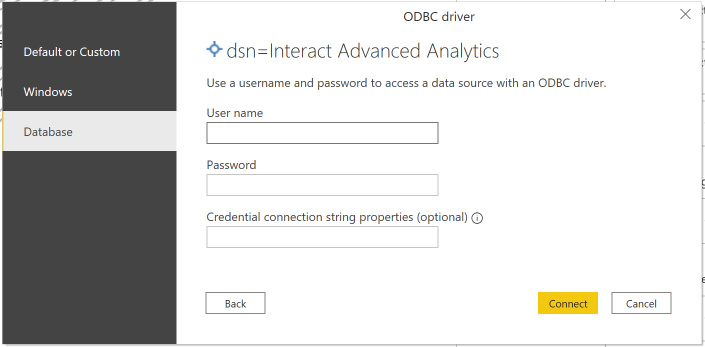
You may be asked for credentials again. Use the Access Key ID as the username and the Secret Access Key as the password, then click Connect.
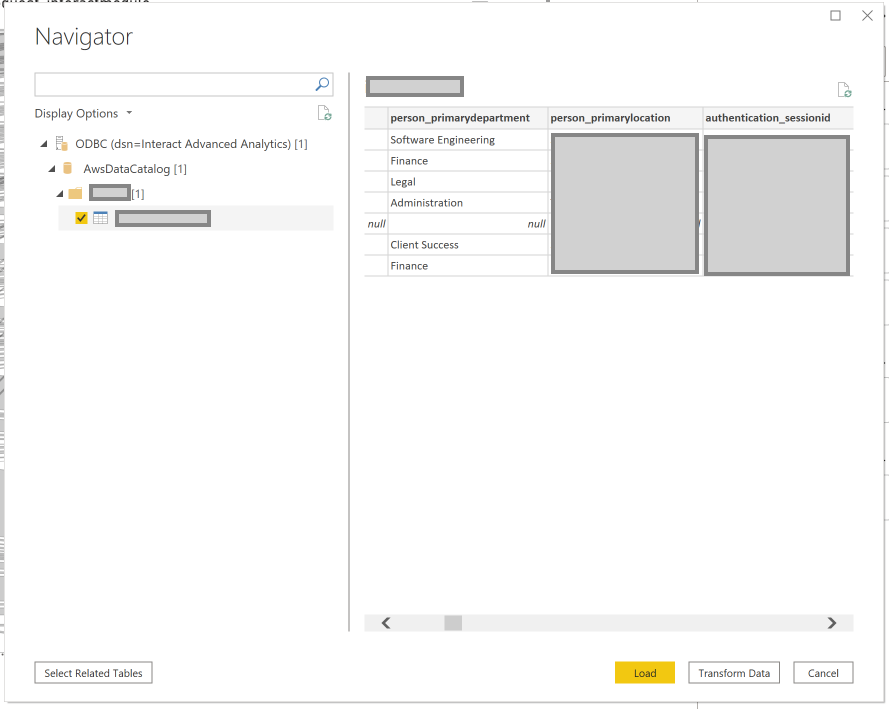
You can now see the databases and tables you have access to. Select the tables you want to load into Power BI and click Load.
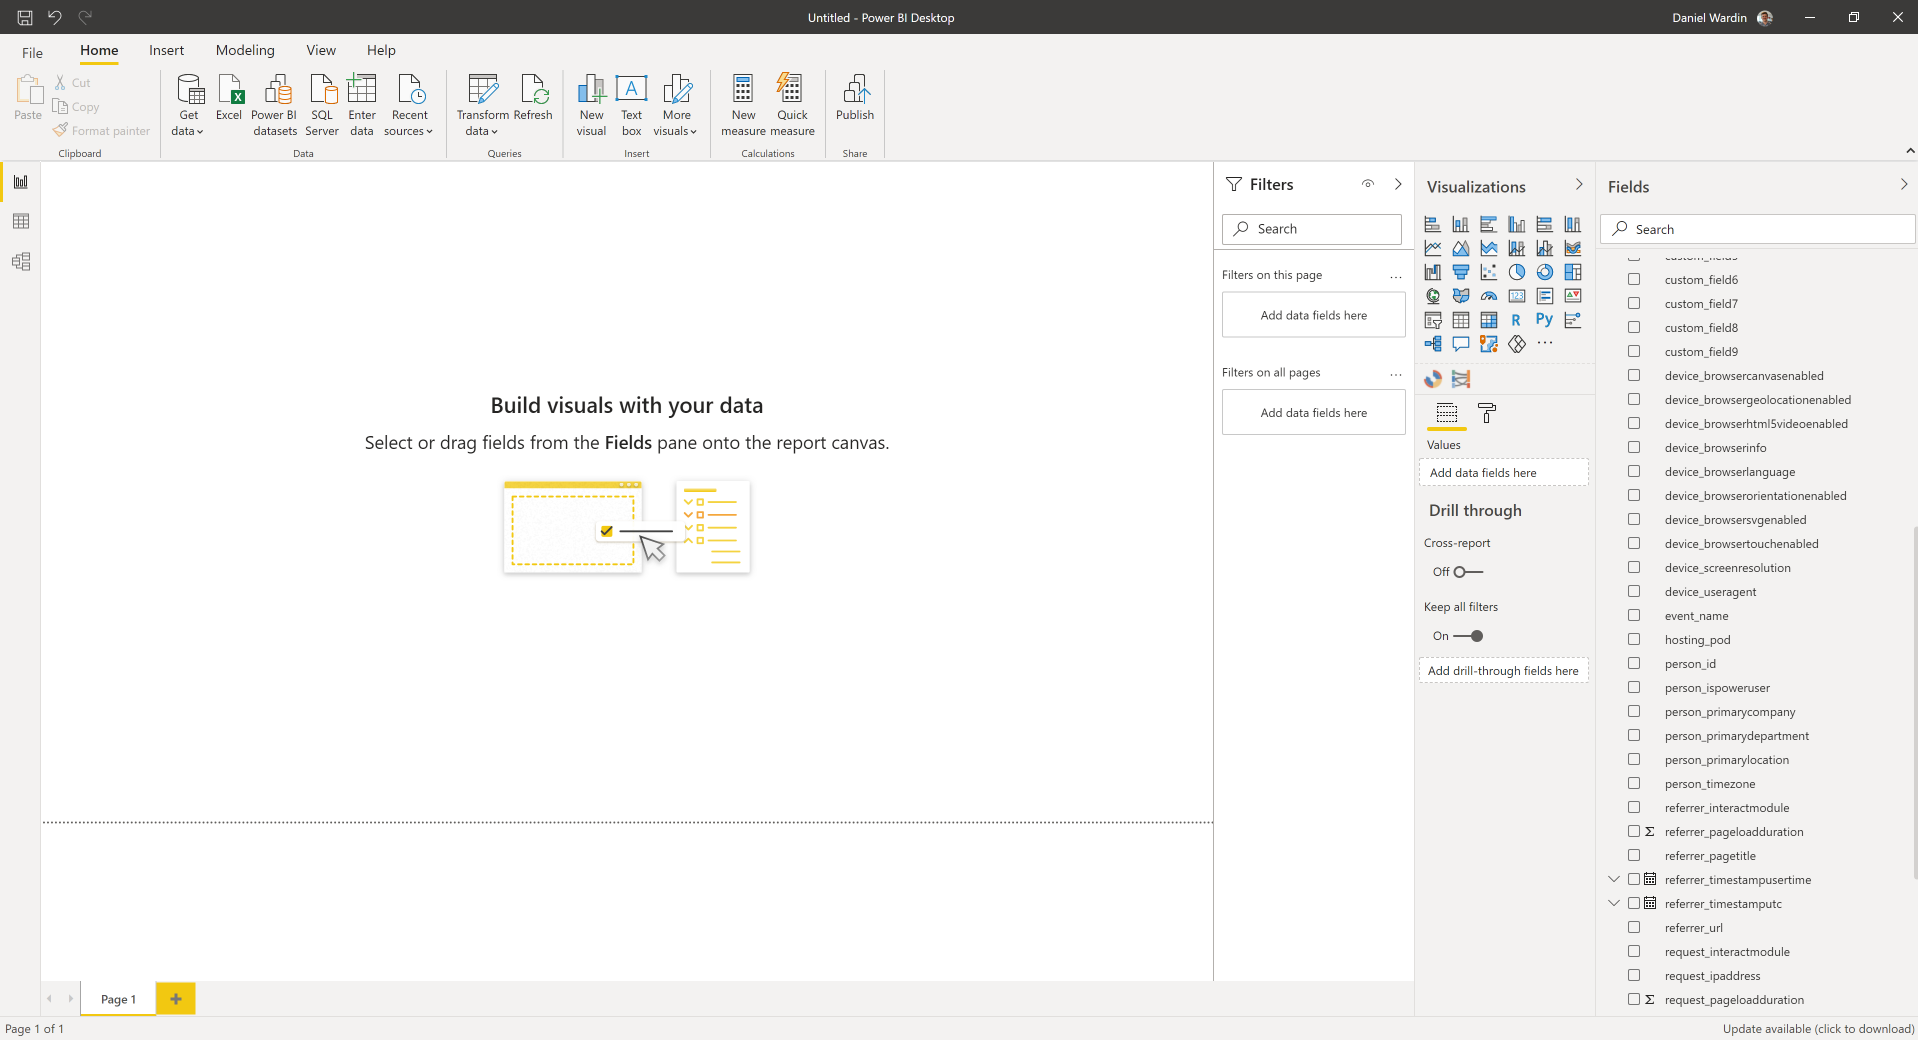
The data is now loaded and ready to use in Power BI.
Ports
Port 443 is used to communicate with the Data Lake, and port 444 is used to stream query results back from the Data Lake to the BI tool. Both ports must be open. See the Athena ODBC v2 driver documentation.