SCIM with Okta
Before you start
- You need to be a Power User in Interact to generate the SCIM authentication token. See Create a SCIM profile source.
- You need administrative rights in Okta.
- You need Okta's Lifecycle Management (LCM) product to use SCIM provisioning.
Overview
This guide gives an overview of the configuration required to provision users from Okta to the Interact platform using SCIM. It covers creating the SCIM application, adding the required Interact attributes, mapping attribute values, and optionally adding SAML single sign-on.
Step 1: Configure the Okta SCIM application
- Log into Okta with administrative rights.
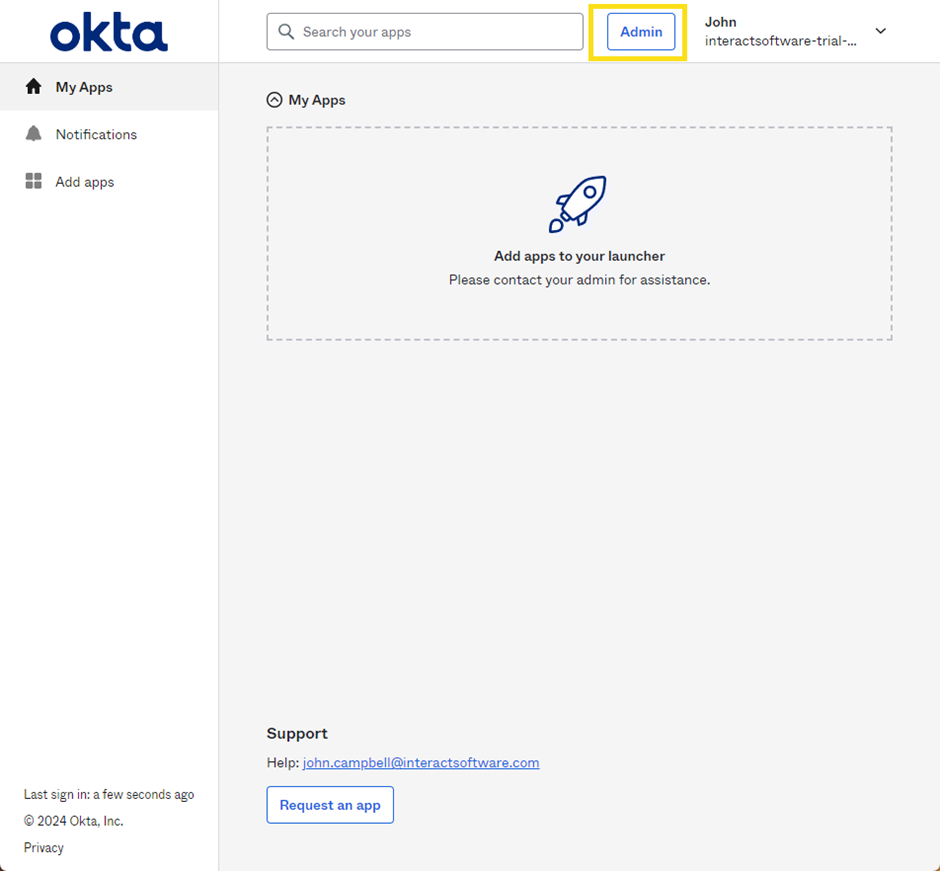
- Select Admin at the top right of the Okta app dashboard to enter the admin dashboard, if you are not already there.
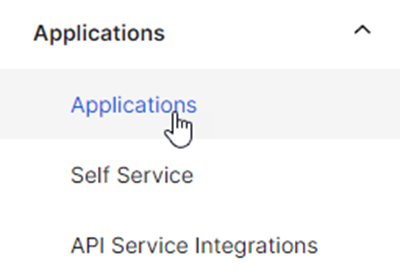
- On the left panel, expand Applications, then select the Applications sub-option.
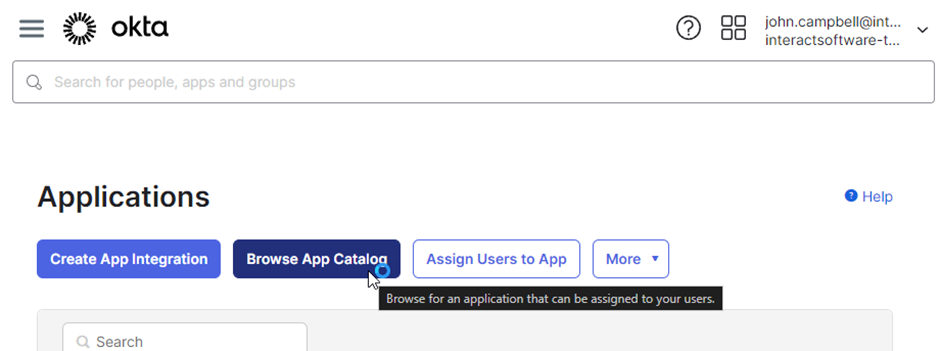
- In the main panel, select Browse App Catalog.
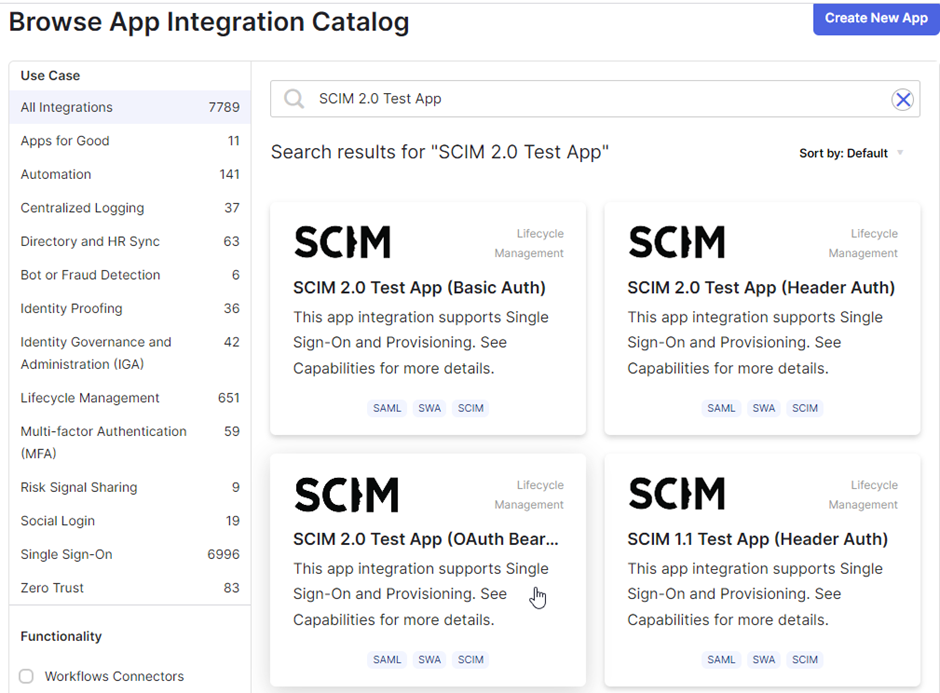
- On the Browse App Integration Catalog window, search for SCIM 2.0 Test App (OAuth Bearer Token) and select it.
- Select Add Integration.
- Change the application label to whatever you like, for example
Interact - SCIM. Optionally clear the Automatically log in when user lands on login page box. - Select Next.
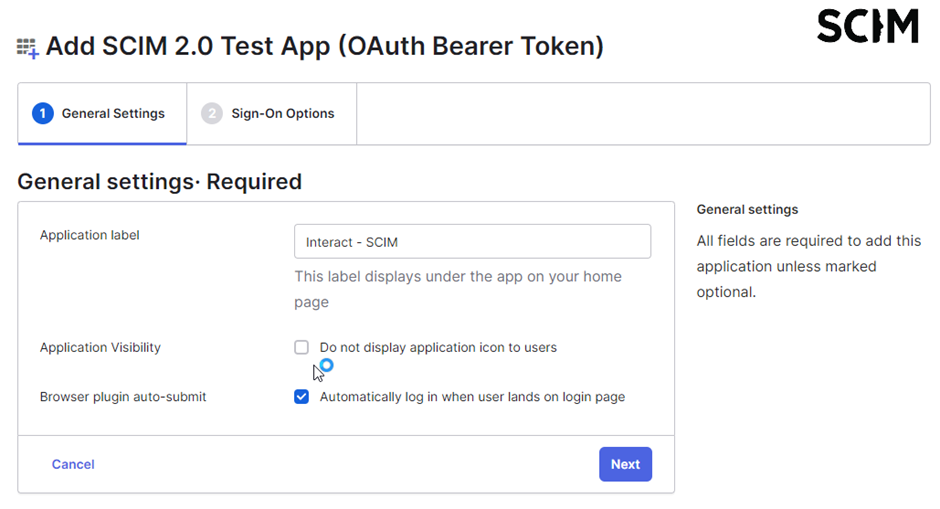
- On the next page you can configure SAML options for Interact. You need the details from the SAML configuration in Interact (see SCIM with Okta: adding SAML below). Leave it blank if you want to use this test app for SCIM only.
- Select Done.
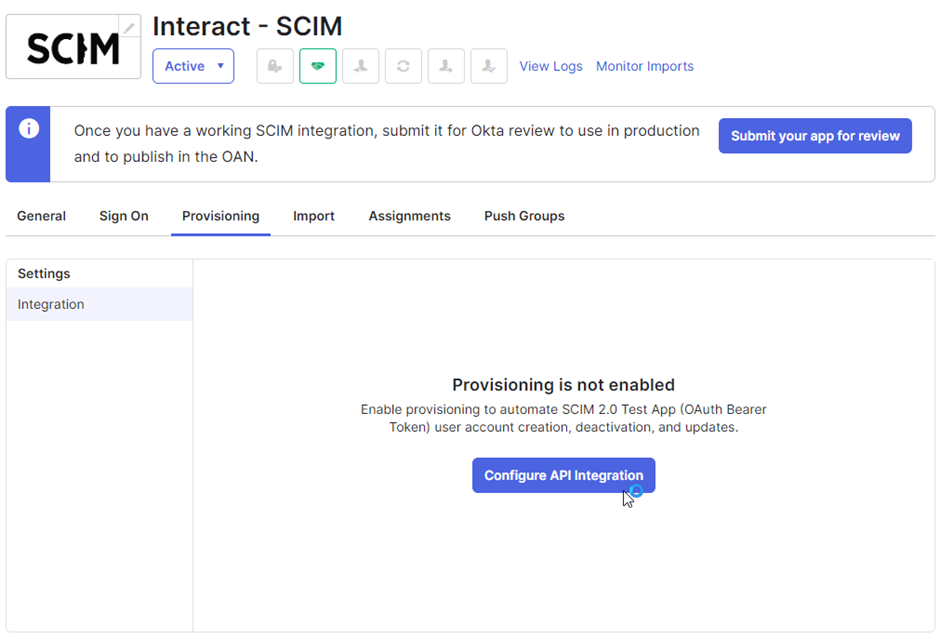
- Select the Provisioning tab and select Configure API Integration.
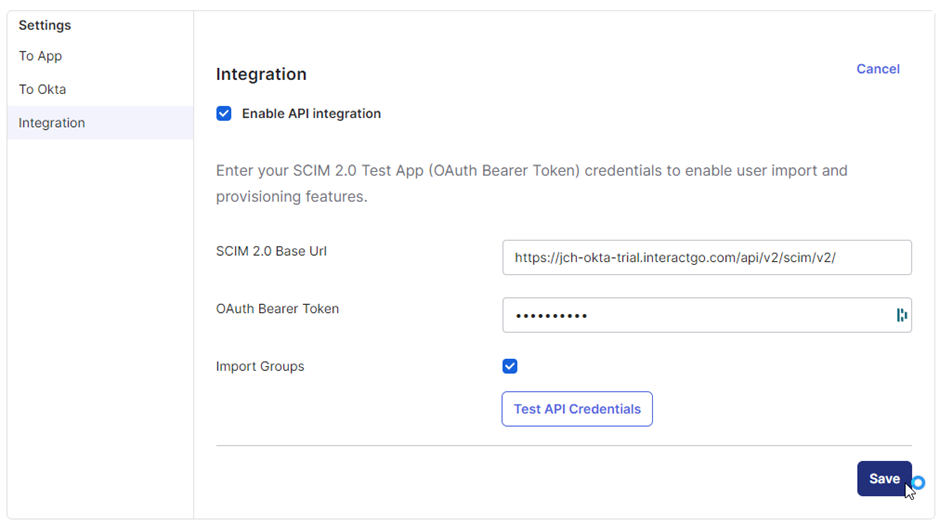
- Select the Enable API Integration box.
- Enter the SCIM URL for your domain, for example
https://{{intranet_url}}/api/v2/scim/v2/. - Enter the OAuth authentication token generated for the SCIM source in Interact.
-
Select Save.
Step 2: Add the required Interact attributes
Before you assign any users, edit the application profile to add two attributes that Interact requires but that are not included in the base SCIM schema.
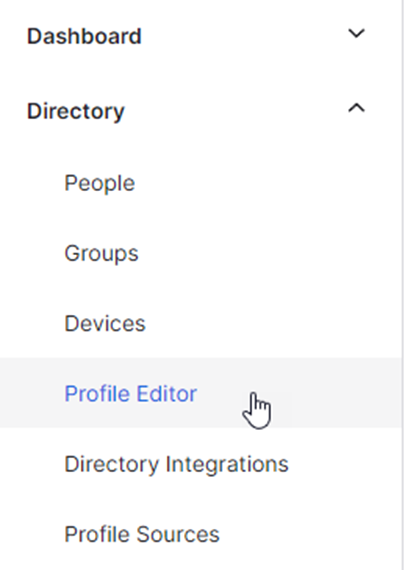
- On the left panel, expand Directory, then select Profile Editor.
- Find the profile that has the name of the SCIM app you just created, for example
Interact - SCIM User, then select its name. - Select + Add Attribute.
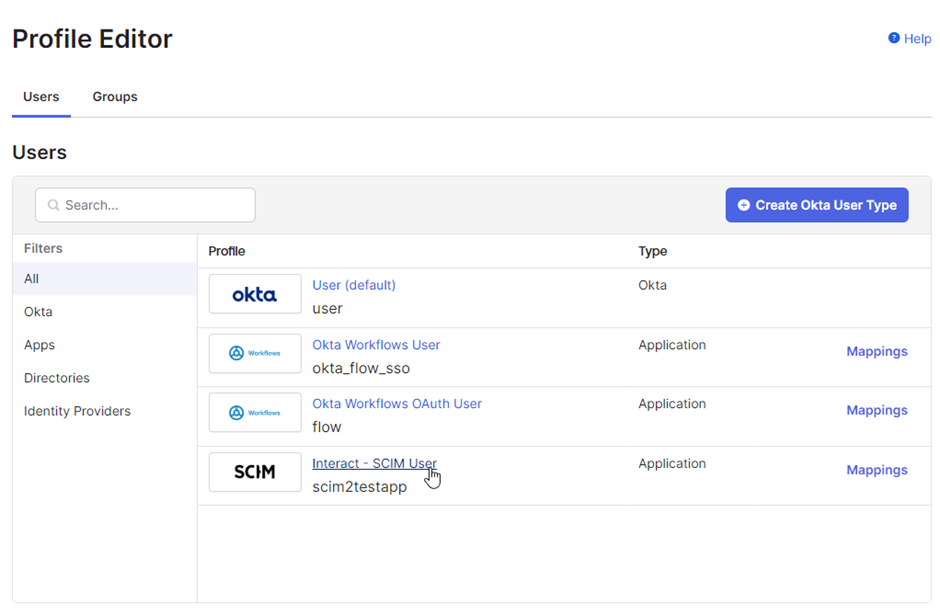
- Enter the following information for the Location attribute (leave undeclared values as default):
- Data Type:
string - Display Name:
Location - Variable Name:
Location - External Name:
location(case sensitive) - External Namespace:
urn:ietf:params:scim:schemas:extension:interactsoftware:2.0:User - Description: Identifies the name of the location
- Attribute Required: True (ticked)
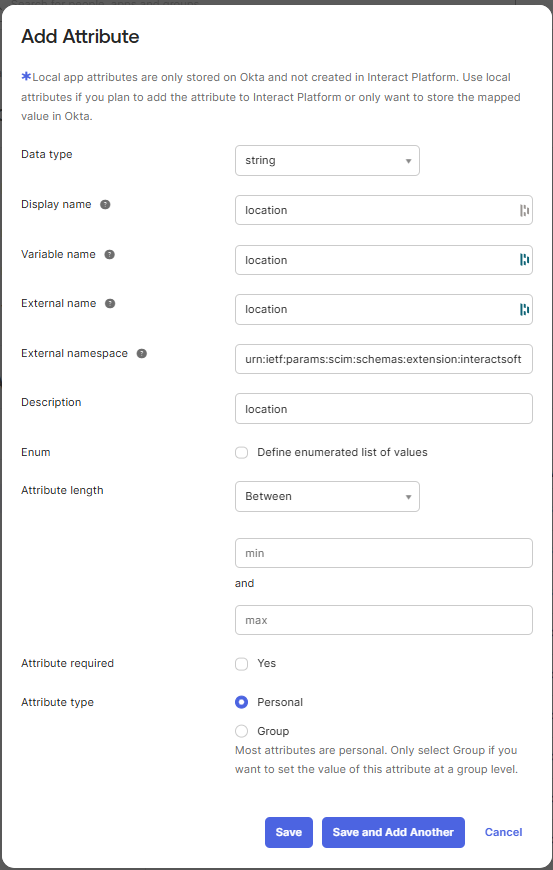
- Repeat the process for the Authentication type in Interact, especially if you are using SAML. If this is not mapped, users are created as Local Directory users. Enter the following (leave undeclared values as default):
- Data Type:
string - Display Name:
loginType - Variable Name:
loginType - External Name:
loginType(case sensitive) - External Namespace:
urn:ietf:params:scim:schemas:extension:interactsoftware:2.0:User - Description: Identifies the login type
- Attribute Required: True (ticked)
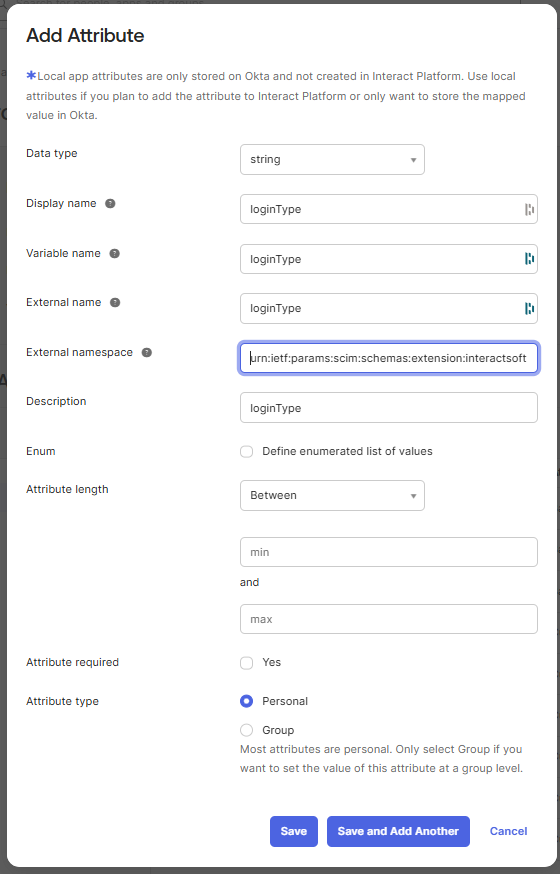
- Select Save.
Note: The steps above add the attributes required by the Interact SCIM schema. To populate other optional Interact attributes, repeat the steps for each additional attribute. See SCIM field mapping for the full list.
Step 3: Map the attributes
- Select Mappings and map both attributes.
- Select the Okta User to APPNAME tab, where APPNAME is the name you declared earlier.
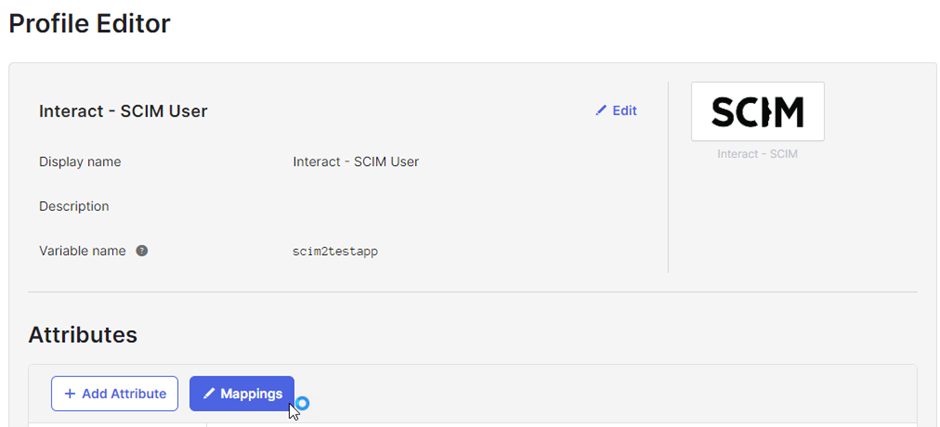
- At the bottom of the list, find the
locationattribute you added. Map an Okta user attribute into this field that corresponds to the locations you want in Interact.

- Map the
loginTypeattribute as shown.

- Interact requires the mapping of some mandatory fields, including Department, Location and Company. See SCIM field mapping for full details. To ensure empty values are not passed from Okta to Interact, use expressions in the mapping. Set the mappings to use expressions similar to the following.
Organisation

In this case the value is Company - Not Specified if the field is empty in Okta:
user.organization == null || user.organization == "" ? "Company - Not Specified" : user.organization
Location

In this case the value is Location - Not Specified if the field is empty in Okta:
user.city == null || user.city == "" ? "Location - Not Specified" : user.city
Department

In this case the value is Department - Not Specified if the field is empty in Okta:
user.department == null || user.department == "" ? "Department - Not Specified" : user.department
- Optionally preview with an Okta user to confirm the values are what you want. This is also a good time to make any other attribute mapping adjustments.
- Select Save Mappings.
- Set the provisioning of the application to On.
- You can now assign users to the SCIM application and test SCIM provisioning into Interact.
Adding SAML to this application
You can use this Okta application to provide single sign-on via Okta.
- Set up the SAML settings from your Interact site. See Configure SAML single sign-on.
- Select the Sign On tab of the application, set it to SAML, and enter the following details:
- ACS URL:
https://{{intranet_url}}/Interact/Login/default.aspx(for examplehttps://intranet.interactgo.com/Interact/Login/default.aspx). - Audience URL:
http://{{entity_id}}, using the entity ID from your Interact SAML setup, generally in the formathttp://intranet.interactgo.com/saml-sp.
- ACS URL:
- Copy the metadata URL from this page in Okta and import it in Configure SAML single sign-on.
Troubleshooting
- Use the logging provided by Okta. This is your main way of checking for synchronisation issues.
- Interact's SCIM implementation is verbose and provides context with all errors, to help you resolve issues.
- Check whether the SCIM service is functional by opening your browser at
https://{{intranet_url}}/api/v2/scim/v2/health. Check this if you receive errors. - Errors mention issues with specific attributes, for example: bad value type for attribute X, missing attribute Y, or a value in attribute Z that does not comply with a required format.
- If the manager sync functionality is not working during testing, ensure that the manager is part of the users being synced. The reconciliation of manager information happens on the Okta side, not within Interact, so the manager must be part of the Okta provisioning.
- If you receive "Work phone number attempted to be set twice", remove these mappings:
phoneNumbers.^[primary==true].typeandphoneNumbers.^[primary==true].value. Then add this mapping:phoneNumbers.^[type=='work'].value.
Known limitations of Okta SCIM support
Provisioning
- Additional fields: You cannot have an additional field inside Interact with a question mark (
?) or other special characters in the field name, or the process fails. You receive an Error 500 when trying to perform any SCIM activity until the issue is resolved. Remove the field completely and recreate it without special characters. - Null values: Okta does not push an item to Interact if it is null, so it uses logic similar to Interact's "ApplyBlank" logic for all fields. The default value field only works on the initial sync, which causes an issue with required fields.
- Power User permissions being removed: Add the
urn:ietf:params:scim:schemas:core:2.0:User:userTypefield to the Okta sync and provide one of these values for each user:Power User,Intranet UserorNon Intranet User. To avoid this, create an Okta group (for exampleInteract Power Users) with those users, then add an expression to the userType field:isMemberOfGroupName("Interact Power Users") ? "Power User" : "Intranet User". If you already ran a sync and wiped Power User access, you must manually re-add the permission for your users. - Duplicate users: If duplicate users are created because a set of users already existed in Interact, add both email and username as lookup fields within Okta.
- Start date: To add a start date, use a formula like
String.append(user.startDate,"T01:00:00Z"). - Address: To map the address, map to the Interact field
formatted(which is added automatically as a target) and use a formula likeuser.streetAddress + ", " + user.city + ", " + user.state + " " + user.zipCode. - Reactivating users: If users are inactive within Interact, set the Active field to true to force them back to an active state. You can always set the Active field to true, since deactivating users is a separate process.
- Preferred name logic: Interact does not directly support a PreferredName field, though you can add it as an additional field. To populate Interact's firstname with the preferred name when it has a value and with firstname when the preferred name is null, use:
IIF(ISNULL([preferredname]),[firstname],[preferredname]). - Numeric UIDs: The UID value used for manager lookups cannot be a numeric value, or the
manager.valuelookup fails, because the application cannot distinguish between lookups by person ID and lookups by a numeric UID. Numeric values include1999or01999, that is, anything translatable to a number. To work around this, provide a non-numeric value along with the numeric value when you load the UID field, for examplex1999or_01999. - Create Only: There is a field mapping option to apply a mapping only on creation. This maps a field when a user is created, then lets the user adjust the field in their Interact profile without it being overwritten on a subsequent sync. This is useful for fields like Language, Culture and primary Company, Department and Location.
De-provisioning
- If a user previously managed by the provisioning service is unassigned from an app, or from a group assigned to an app, a disable request is sent. At that point the user is no longer managed by the service, and a delete request is not sent when they are deleted from the directory.
- Provisioning a user that is disabled in Okta is not supported. The user must be active in Okta before they are provisioned.
- When a user goes from soft-deleted to active, the Okta provisioning service activates the user in the target app but does not automatically restore the group memberships. The target application should maintain the group memberships for the user in an inactive state. If it does not, restart provisioning to update the group memberships.