Set up SSO with ADFS
Connect Active Directory Federation Services (ADFS) as a SAML identity provider so users sign in to your intranet with their Active Directory credentials.
Before you start
- You need the Power User role to configure SAML authentication in Interact.
- You need administrator access to your ADFS server.
Step 1: Configure SAML SSO in Interact
First, create the SAML authentication source within Interact. Follow the steps on the Configure SAML single sign-on page to enable a SAML service provider for your domain.
Step 2: Configure ADFS
In ADFS, add a relying party trust.
Navigate to Trust Relationships > Relying Party Trust and choose Add Relying Party Trust.
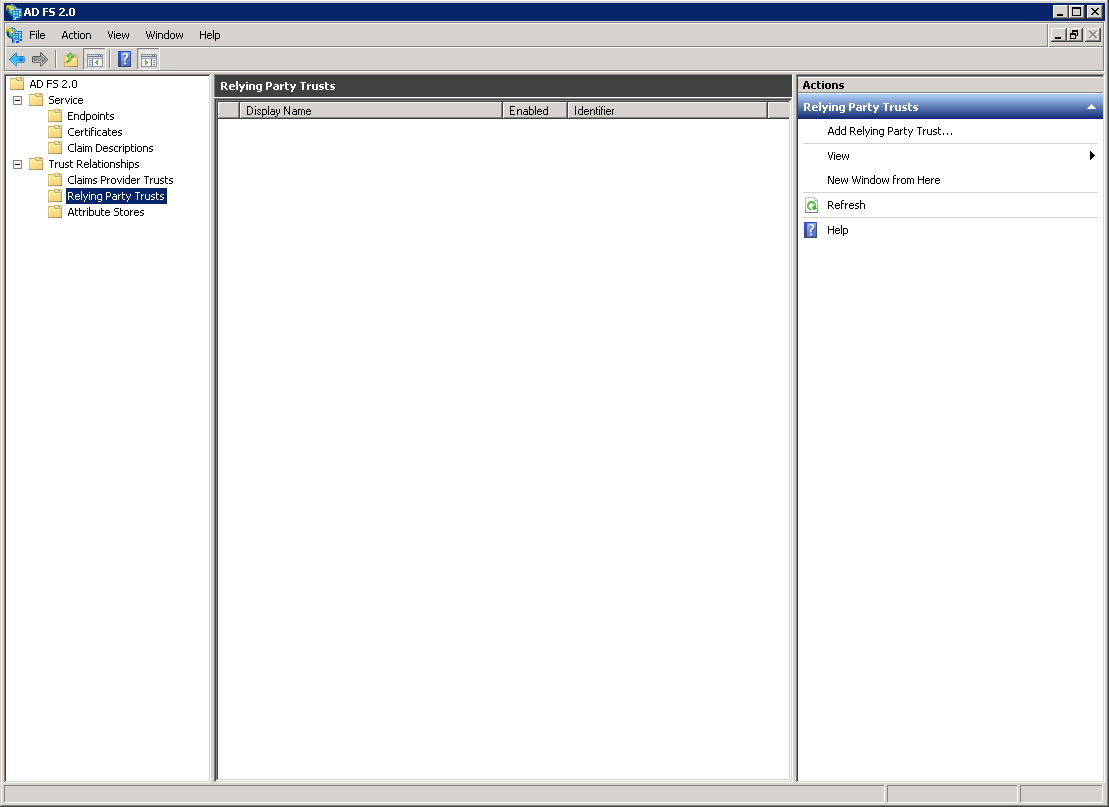
Select Start to proceed.
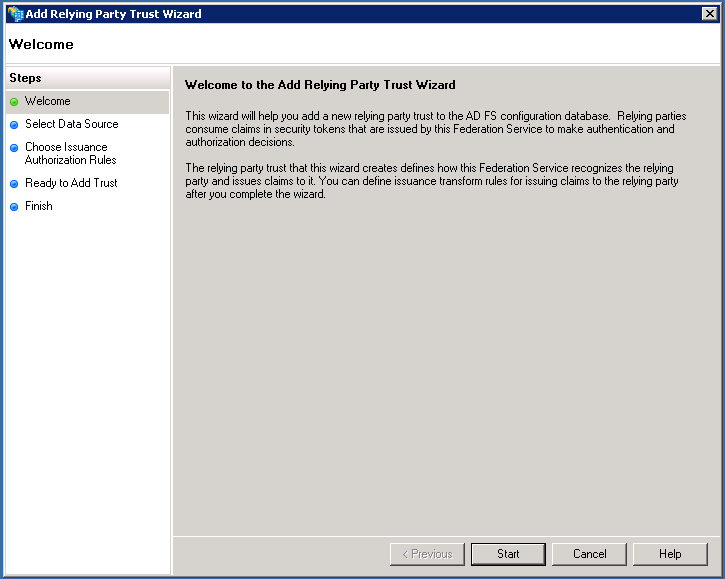
Automatic import of Interact's SP metadata
Interact supports federation metadata for loading the service provider settings into the identity provider (in this case ADFS) automatically.
To use federation metadata, enter the URL for your metadata definition (as described on the SAML metadata page) into the first text box on the screen below, then work through the remainder of the wizard.
Once done, move on to Step 3.
Manual configuration of the relying party
Alternatively, enter the data manually into ADFS. Select Enter the data about relying party manually and continue.
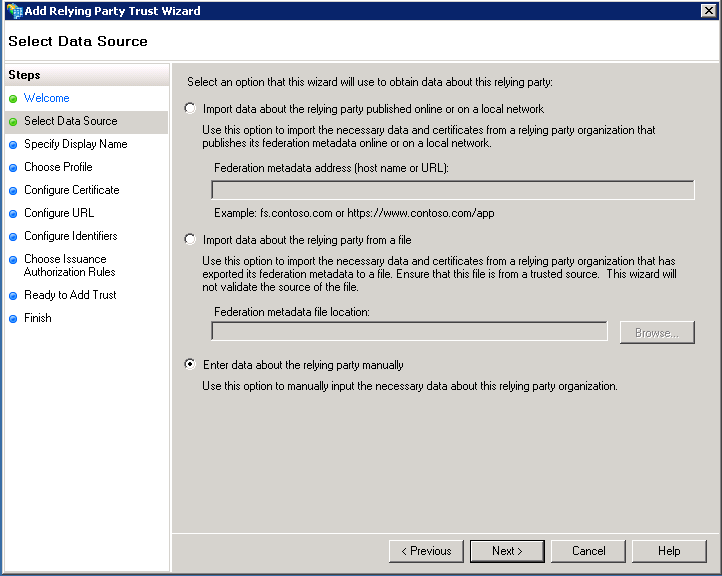
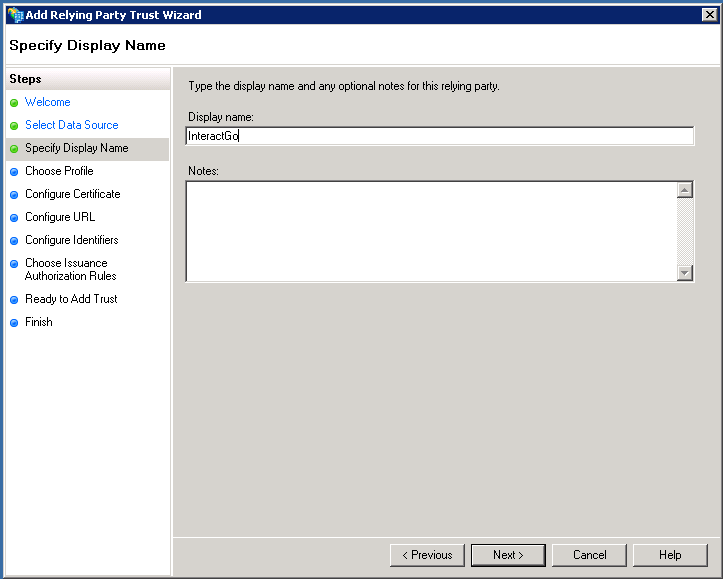
Specify a display name of your choice.
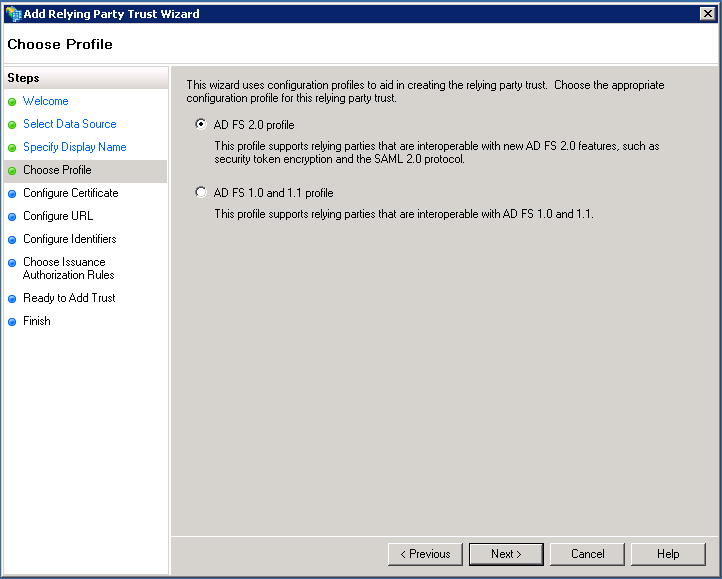
Select the ADFS 2.0 profile and continue.
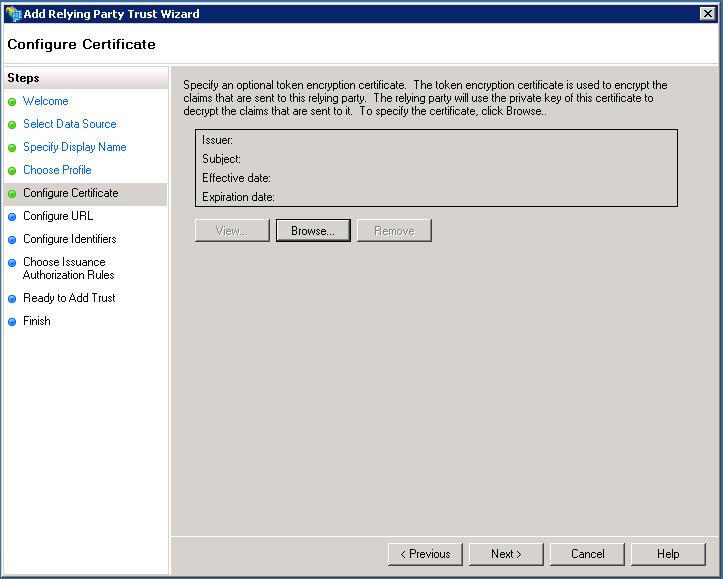
The optional token encryption certificate is not required by Interact. Skip this step.
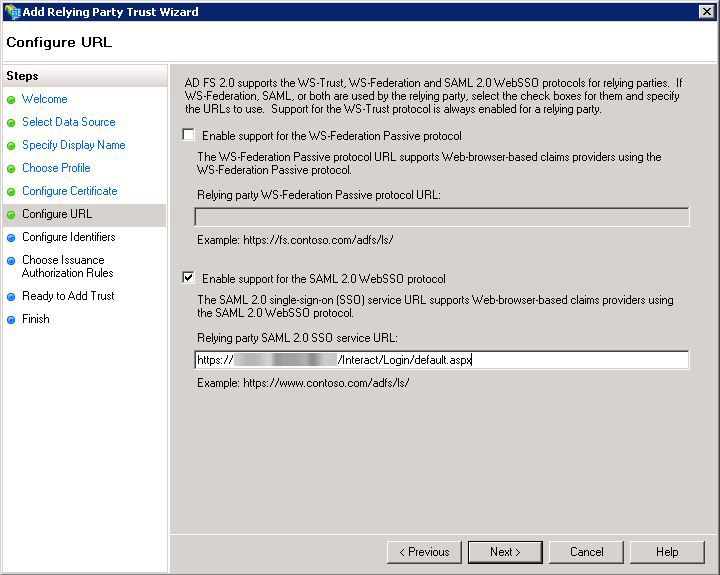
Check Enable support for the SAML 2.0 WebSSO protocol and add the relevant URL:
https://{{fully_qualified_domain}}/Interact/Login/default.aspx
Important: This URL is case sensitive.
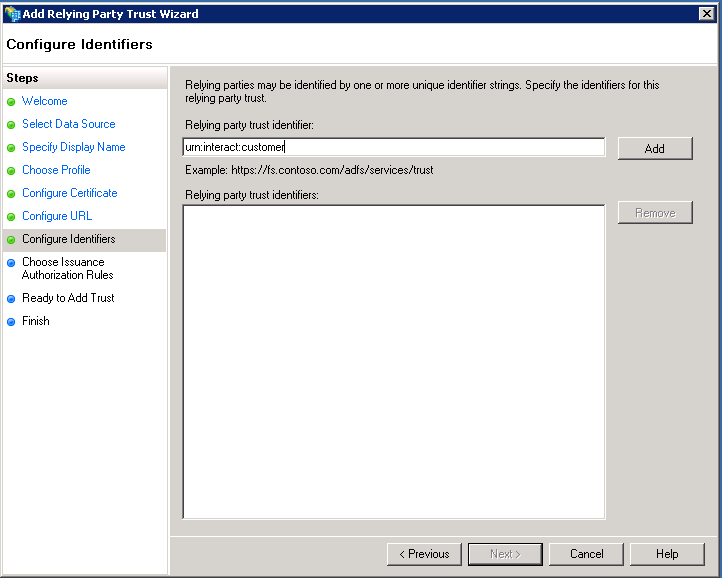
Add the relevant relying trust identifier. You can obtain this from the Manage SAML Authentication area within Interact (see item 2 in the Interact configuration section of this page).
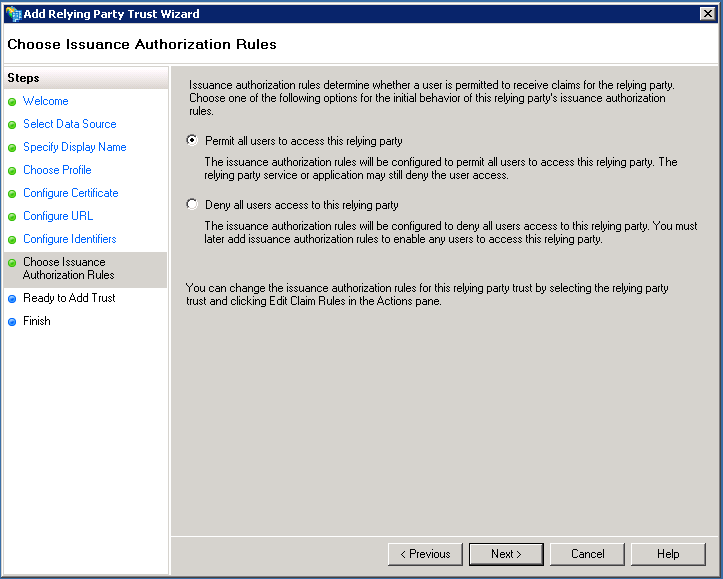
Ensure Permit all users to access this relying party is checked and continue.
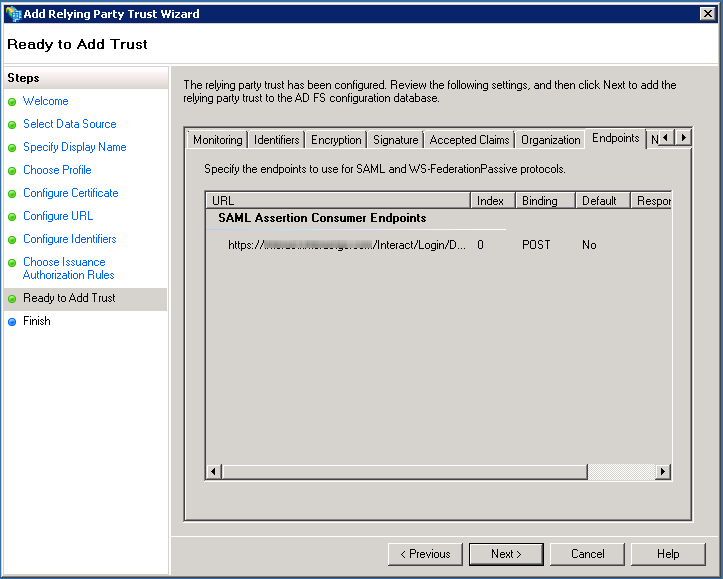
Check that Binding is set to POST within the Endpoint tab before selecting Next.
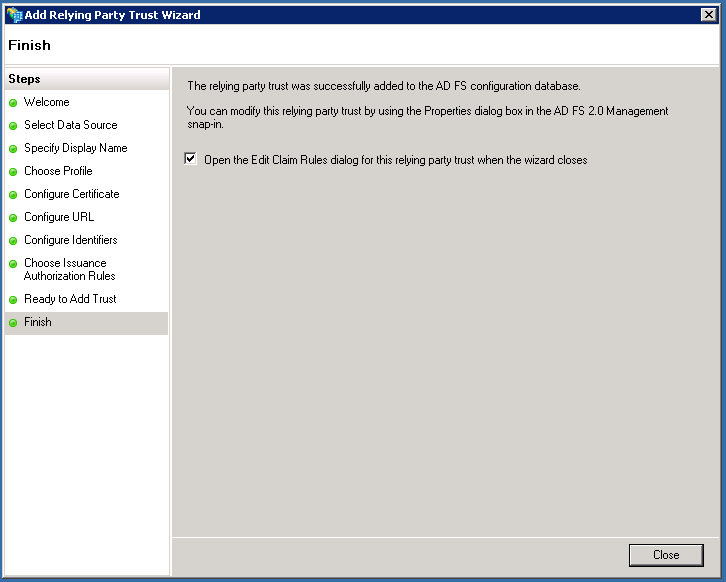
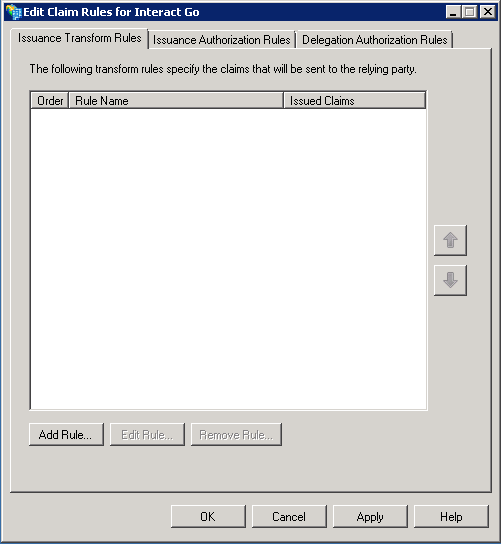
Open Edit Claim Rules when ending the wizard.
Claim rules
Within the Edit Claim Rules dialog, select Add Rule.
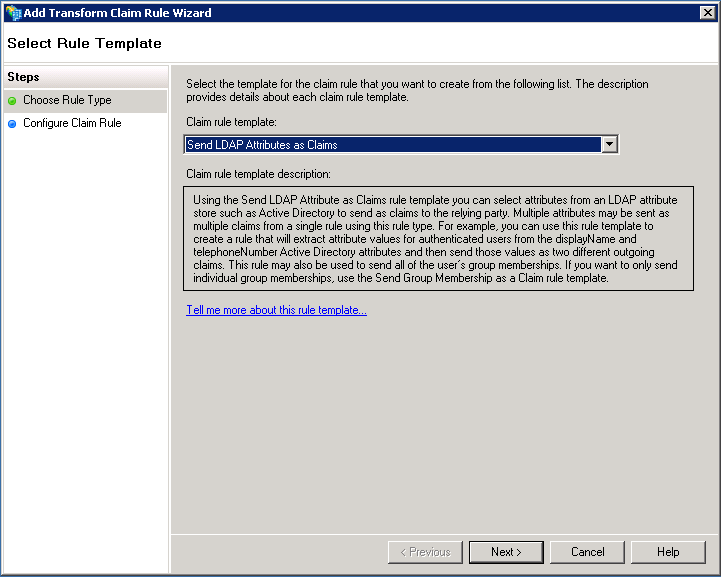
Select Send LDAP attributes as Claims as the claim rule template.
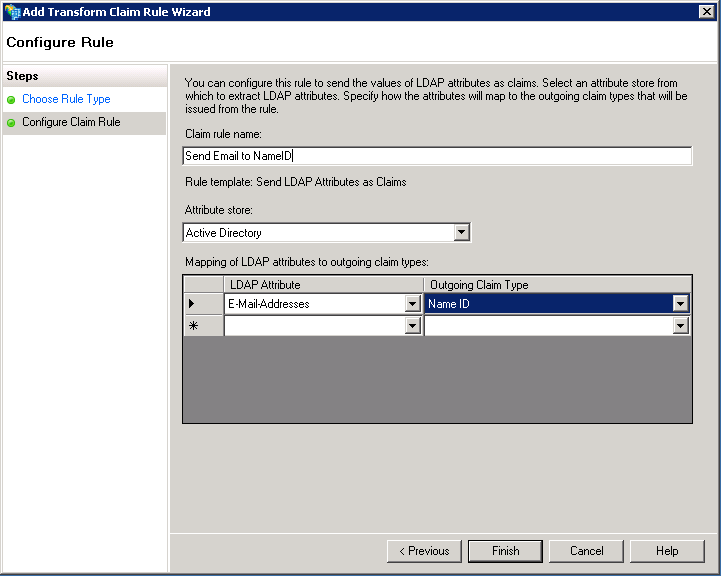
Specify the following properties for the new claim rule.
| Property | Value |
|---|---|
| Claim rule name | Send Email to NameID |
| Attribute store | Active Directory |
| LDAP Attribute | E-Mail-Addresses |
| Outgoing Claim Type | Name ID |
Certificates
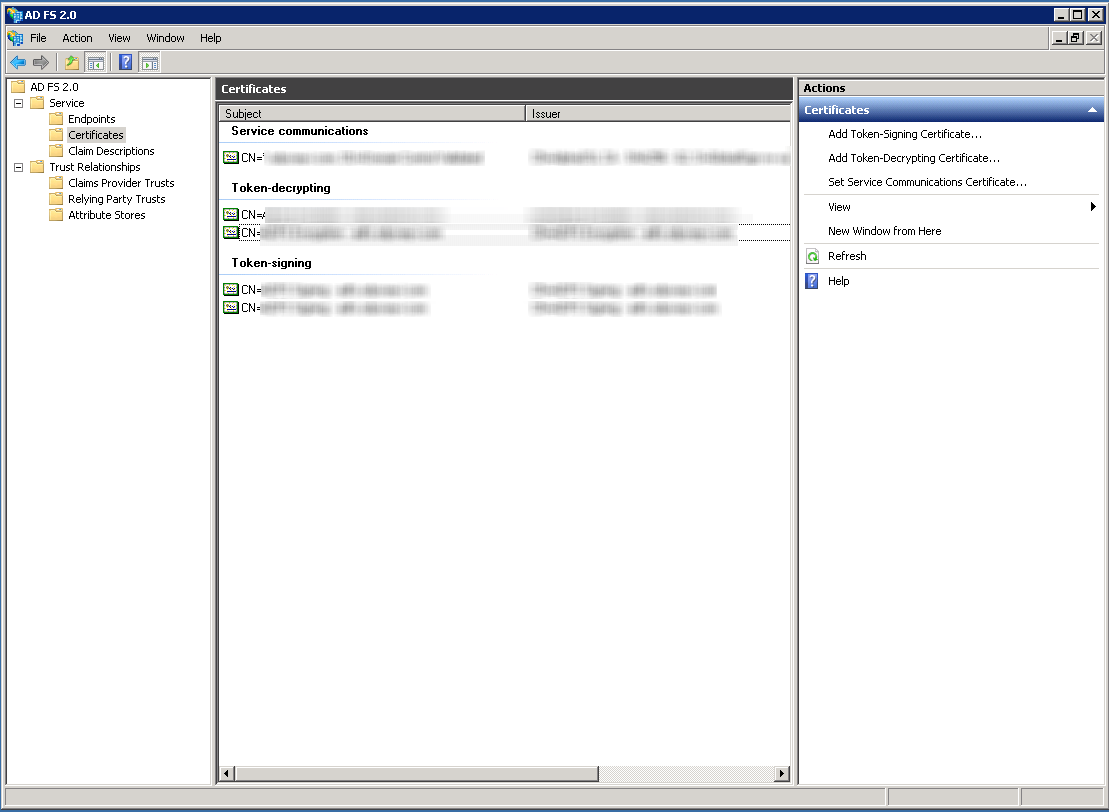
Export your token-signing certificate from ADFS. In ADFS, go to Service > Certificates, open the details for the token-signing certificate, go to the Details tab, and select Copy to File.
Step 3: Import ADFS metadata in Interact
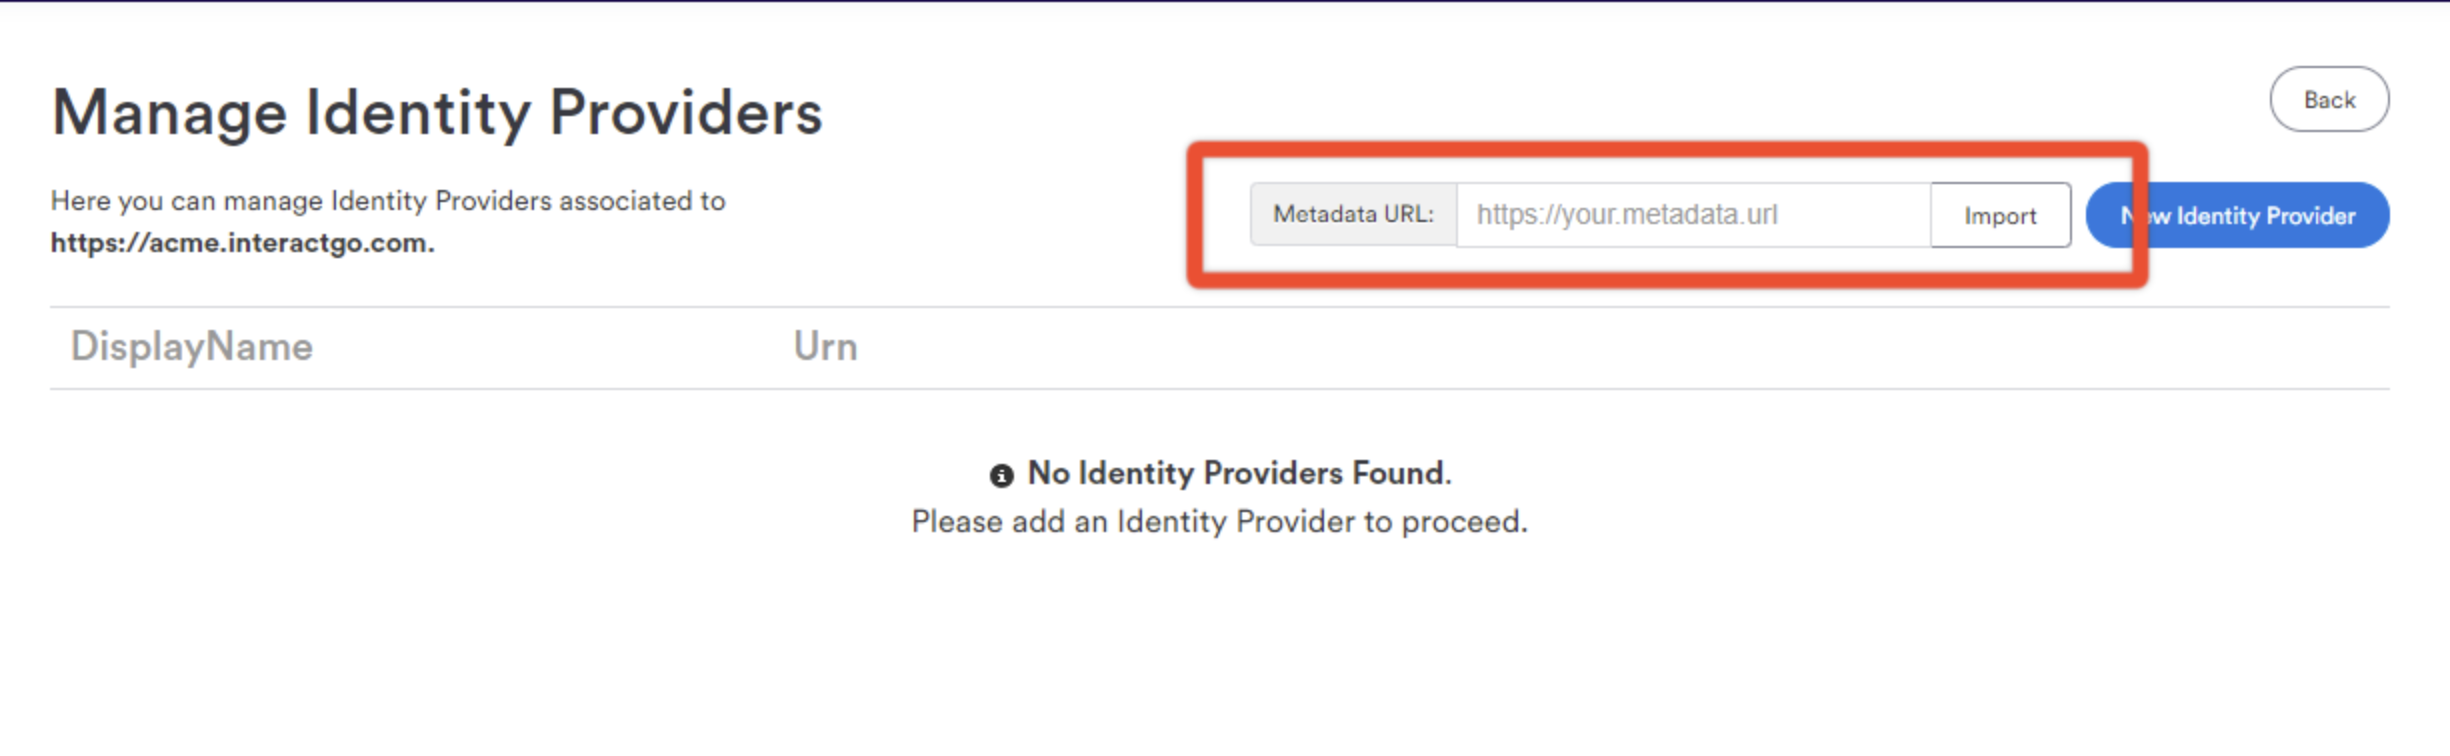
Automatic import of IdP metadata
- As a Power User, navigate to Control Panel > SAML Authentication.
- Ensure that SAML is enabled for your domain. See Configure SAML single sign-on for more details.
- Select Identity Providers.
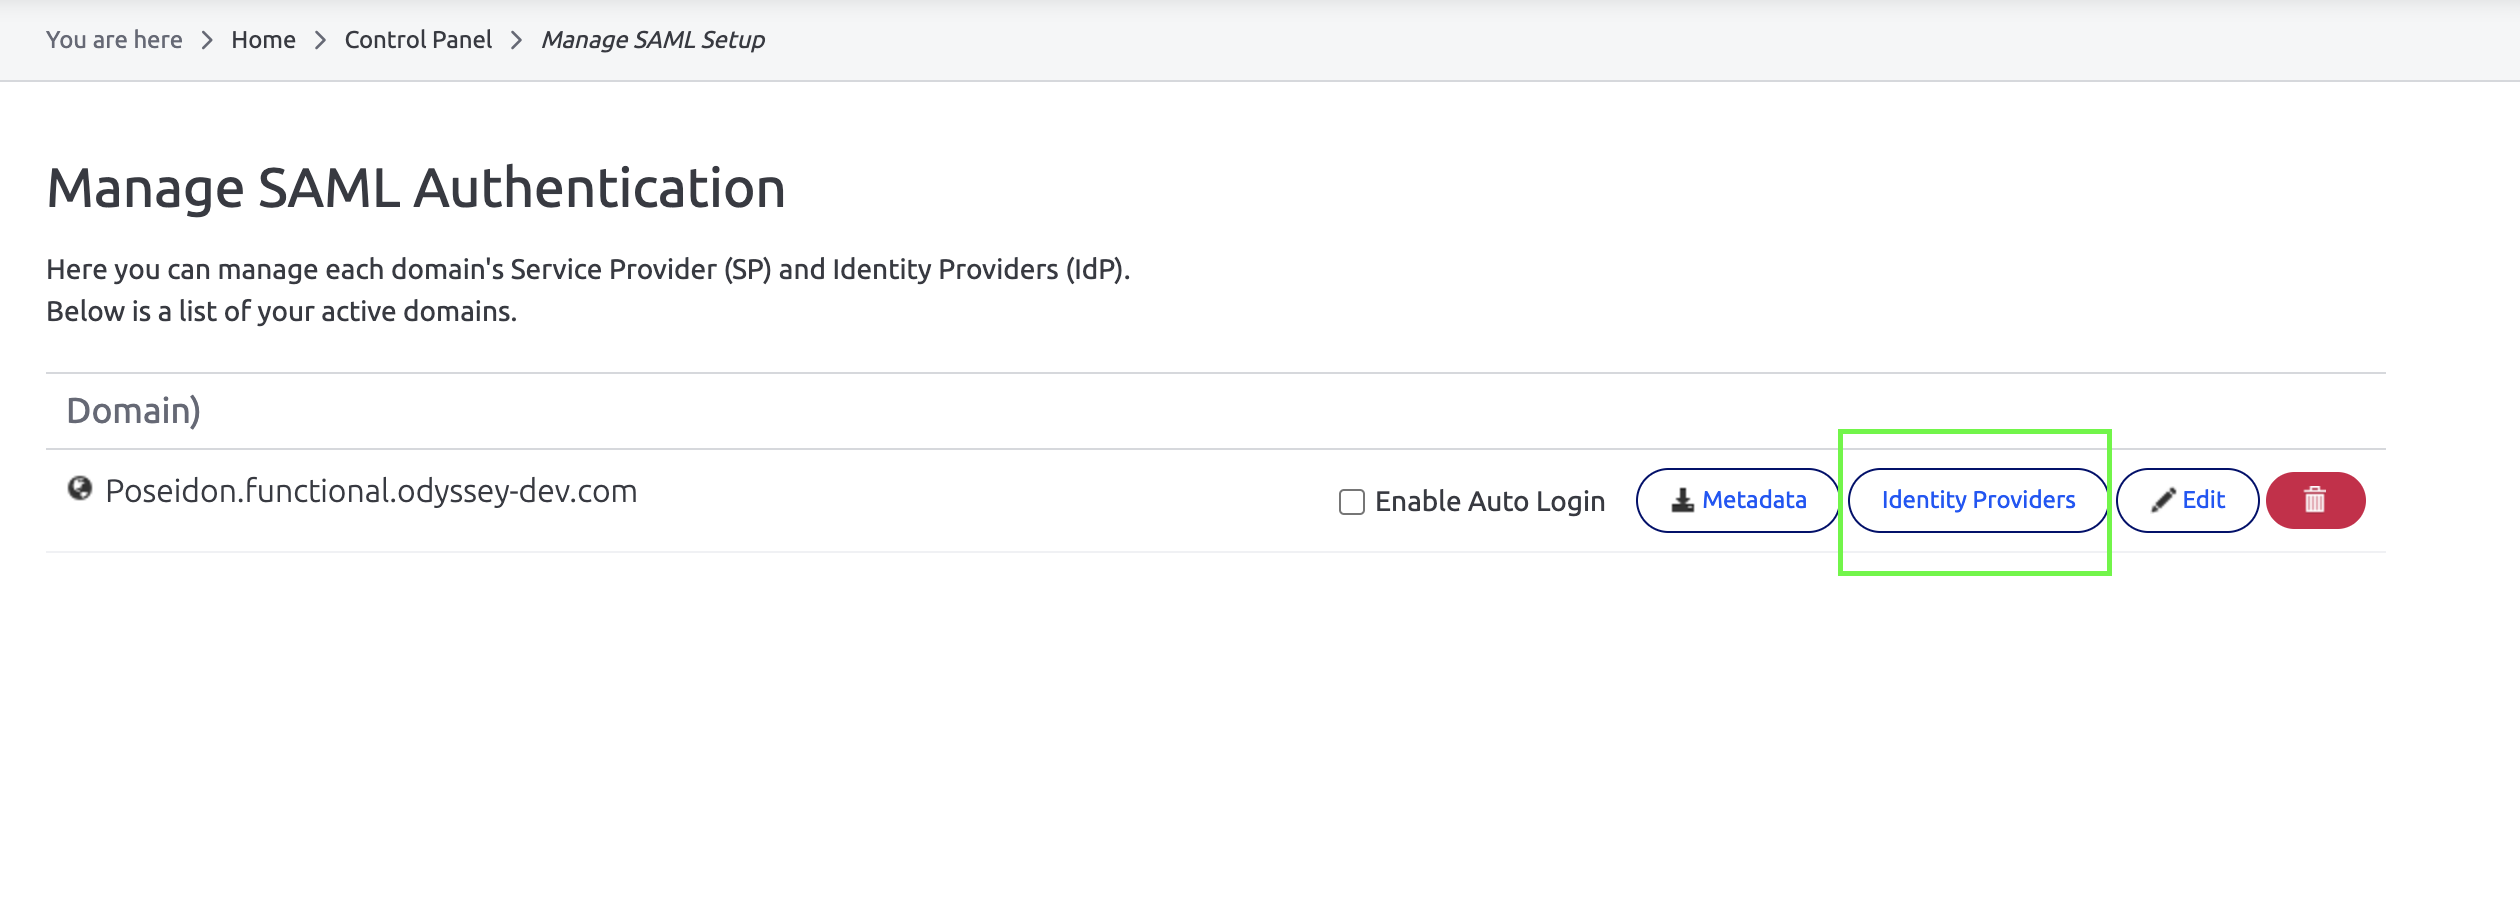
- Paste your ADFS federation metadata endpoint URL and select Import.
Manual configuration of the IdP in Interact
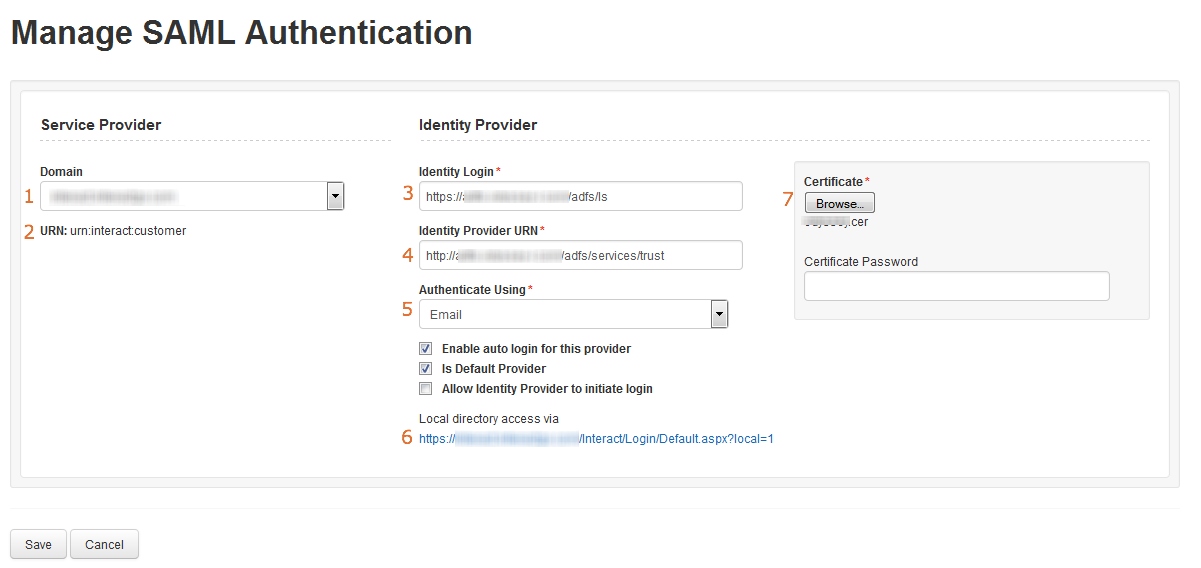
- Specify the primary domain for Interact. In most cases, you will only have one domain to select from.
- This is the auto-generated relay trust identifier that should be specified within the ADFS setup.
- Specify the URL of the ADFS Federation Service endpoint in the format:
https://{{fully_qualified_domain_name}}/adfs/ls - Specify the URL of the ADFS Federation Service identifier in the format:
http://{{fully_qualified_domain_name}}/adfs/services/trust - Set this to Email.
- This URL can be used to access Interact using local directory credentials and bypass ADFS SSO.
- Upload the token-signing certificate from ADFS.
Troubleshooting
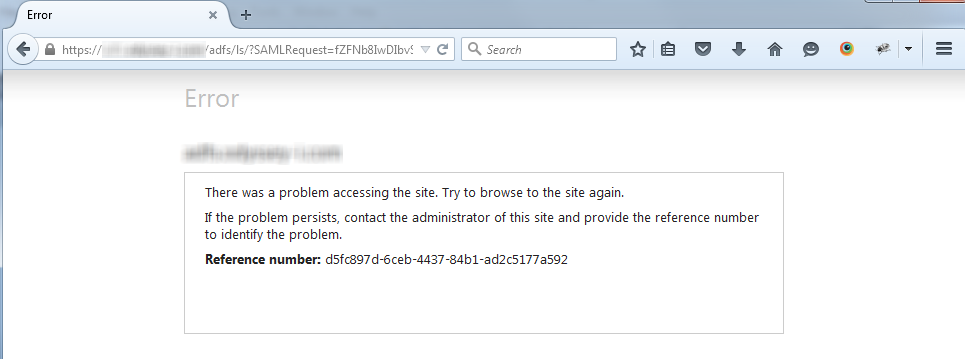
ADFS is displaying an error
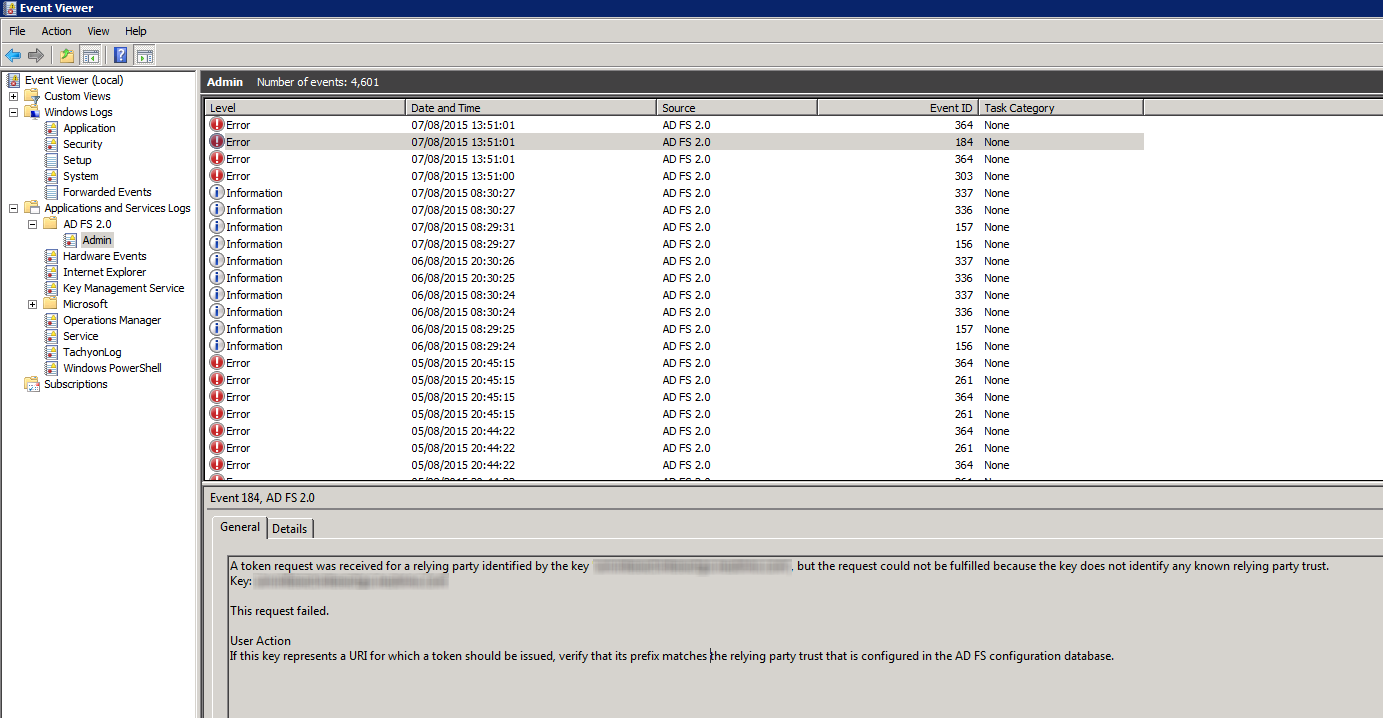
If there is a configuration error within ADFS, the user is presented with an error message similar to the one shown below. Query the Event Log on the ADFS server using the reference number shown.
ADFS is authenticating successfully but Interact is displaying the login page
Interact suppresses any errors reported when interacting with ADFS, so in the event of an error it displays the Interact login screen. Errors are recorded and accessible to Interact Technical Support, so contact them for more information.
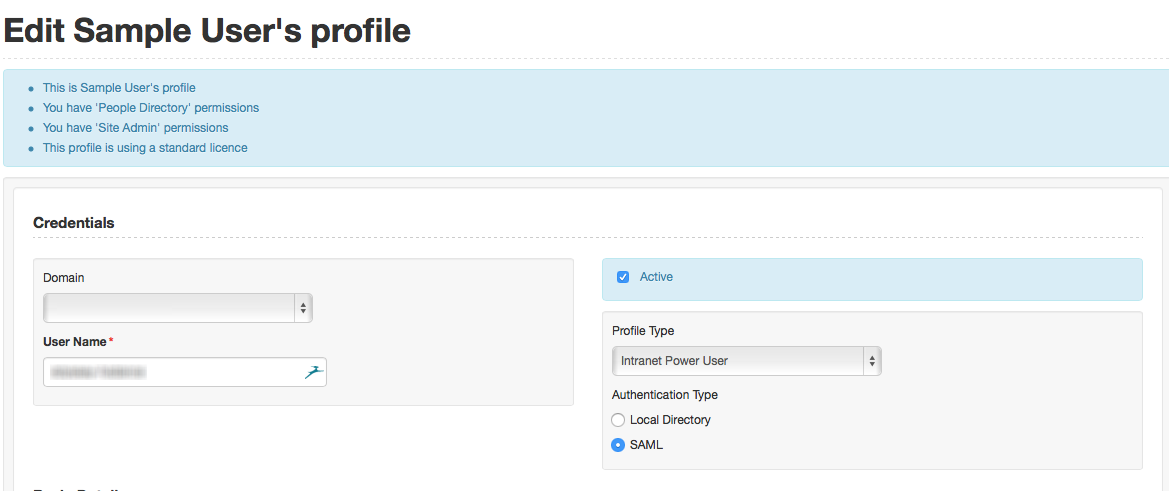
If there are no relevant errors within the log, there may be an issue with the individual user. Ensure they have an active account and that the email address stored against their profile matches the one within Active Directory. Finally, ensure that their profile within Interact is set up for SAML authentication.