Set up SSO with Microsoft Entra ID
Register Interact in Microsoft Entra ID (formerly Azure AD) and connect it as a SAML identity provider so users sign in with their Entra ID credentials.
Before you start
- You need the Power User role to configure SAML authentication in Interact.
- You need access to the Microsoft Entra ID (formerly Azure AD) portal to register an application.
Overview
First, register your Interact instance as an application within Entra ID. Then configure the identity provider in Interact and, optionally, enable auto-login.
Step 1: Register a new app
In your Entra ID portal, select Microsoft Entra ID from the left-hand menu. Then select App registration, followed by New registration.
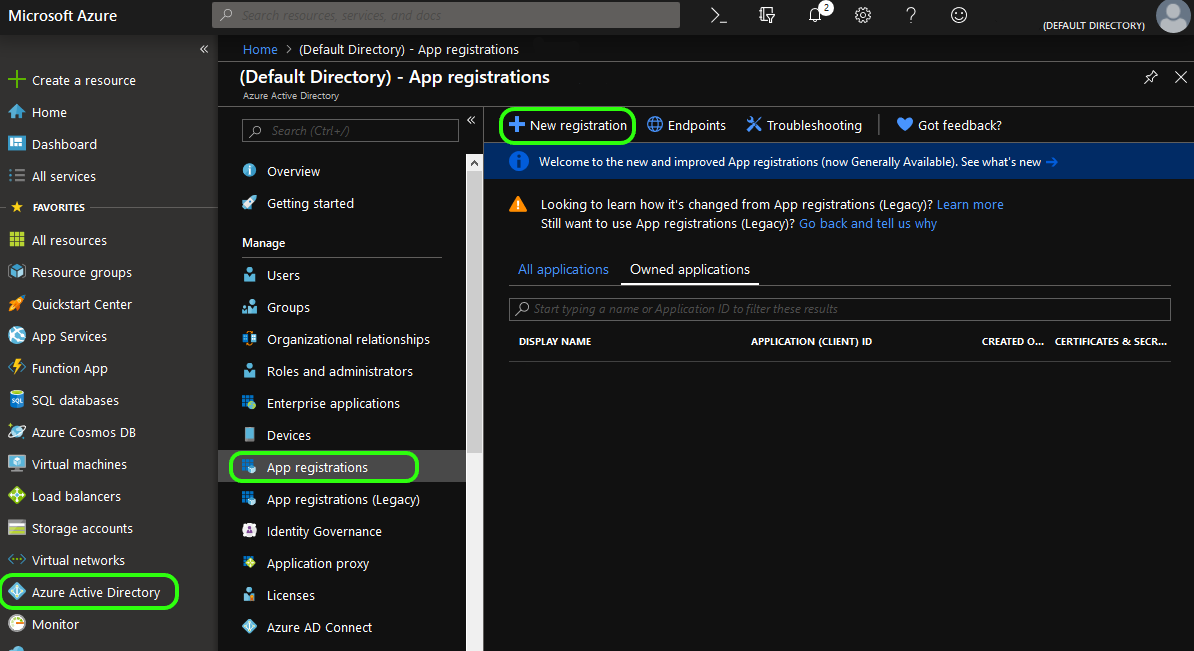
You are presented with a form titled Register an application.
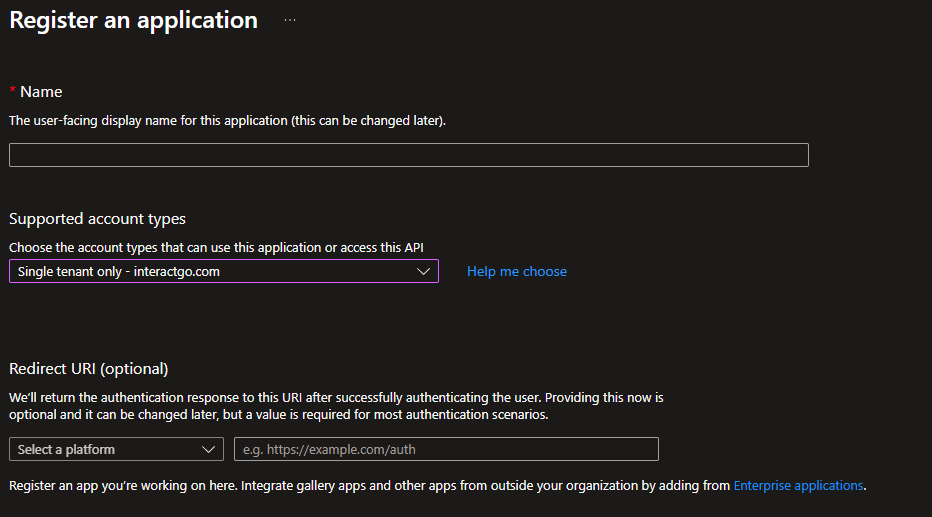
Give the application registration a name, set the supported account type to Single tenant only, and fill out the redirect URI:
https://{{your_intranet_domain}}/Interact/Login/default.aspx
Select Register to continue.
Step 2: Add permissions
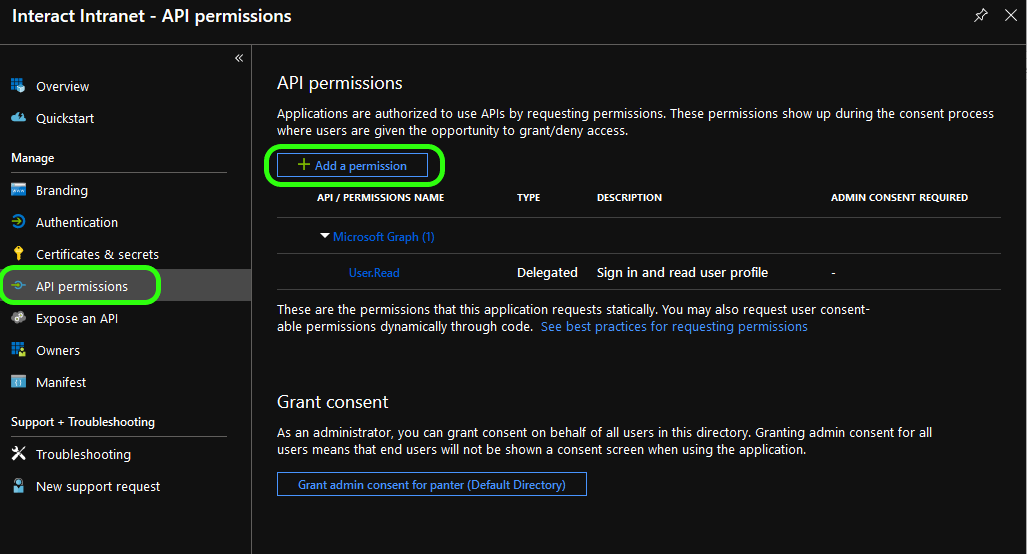
Select API permissions from the side menu, then Add a permission.
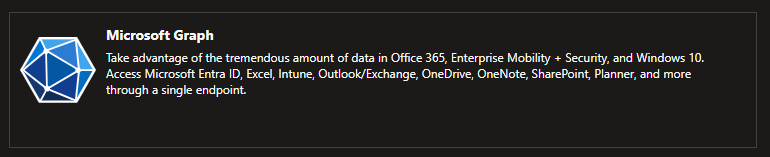
You are presented with a Request API permissions pane. From the Microsoft APIs tab, choose Microsoft Graph.
Select Delegated permissions. From the exposed options, expand Directory and select Directory.Read.All and DirectoryAccessAsUser.All. Also expand User and select User.Read.

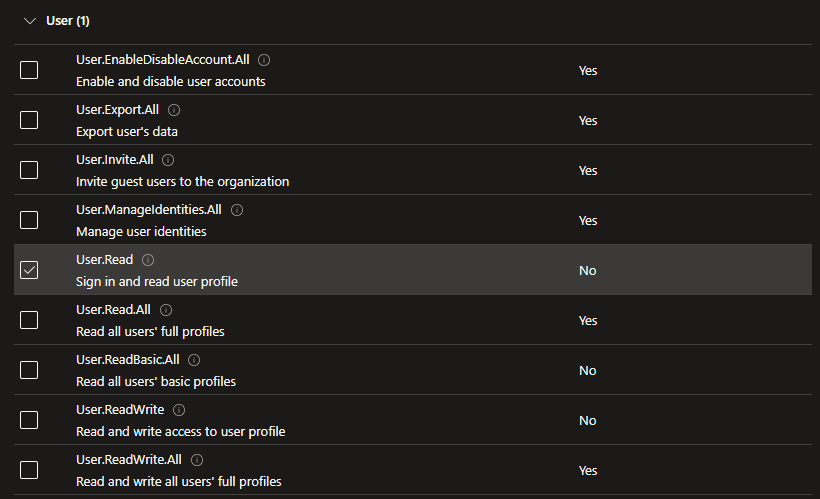
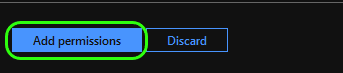
At the bottom of the window, select Add permissions to close.
Step 3: Grant permissions
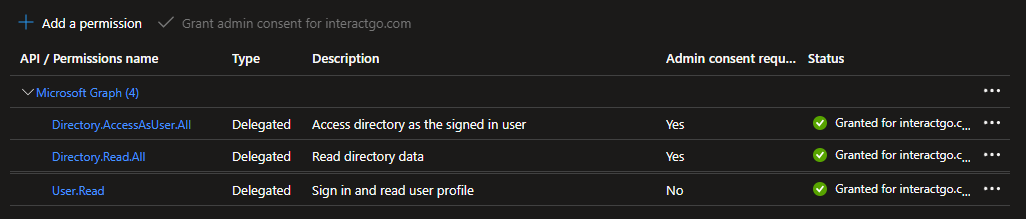
You are now presented with a list of your selected permissions. Select Grant admin consent to apply these options.
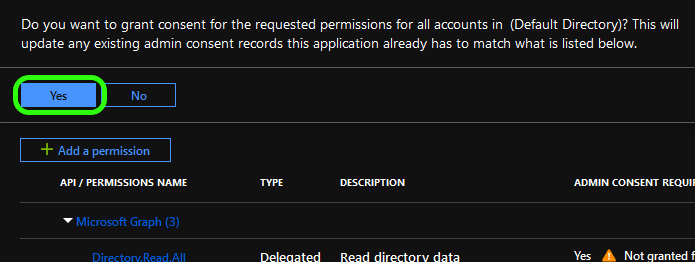
Select Yes to confirm.
Step 4: Obtain the EntityID
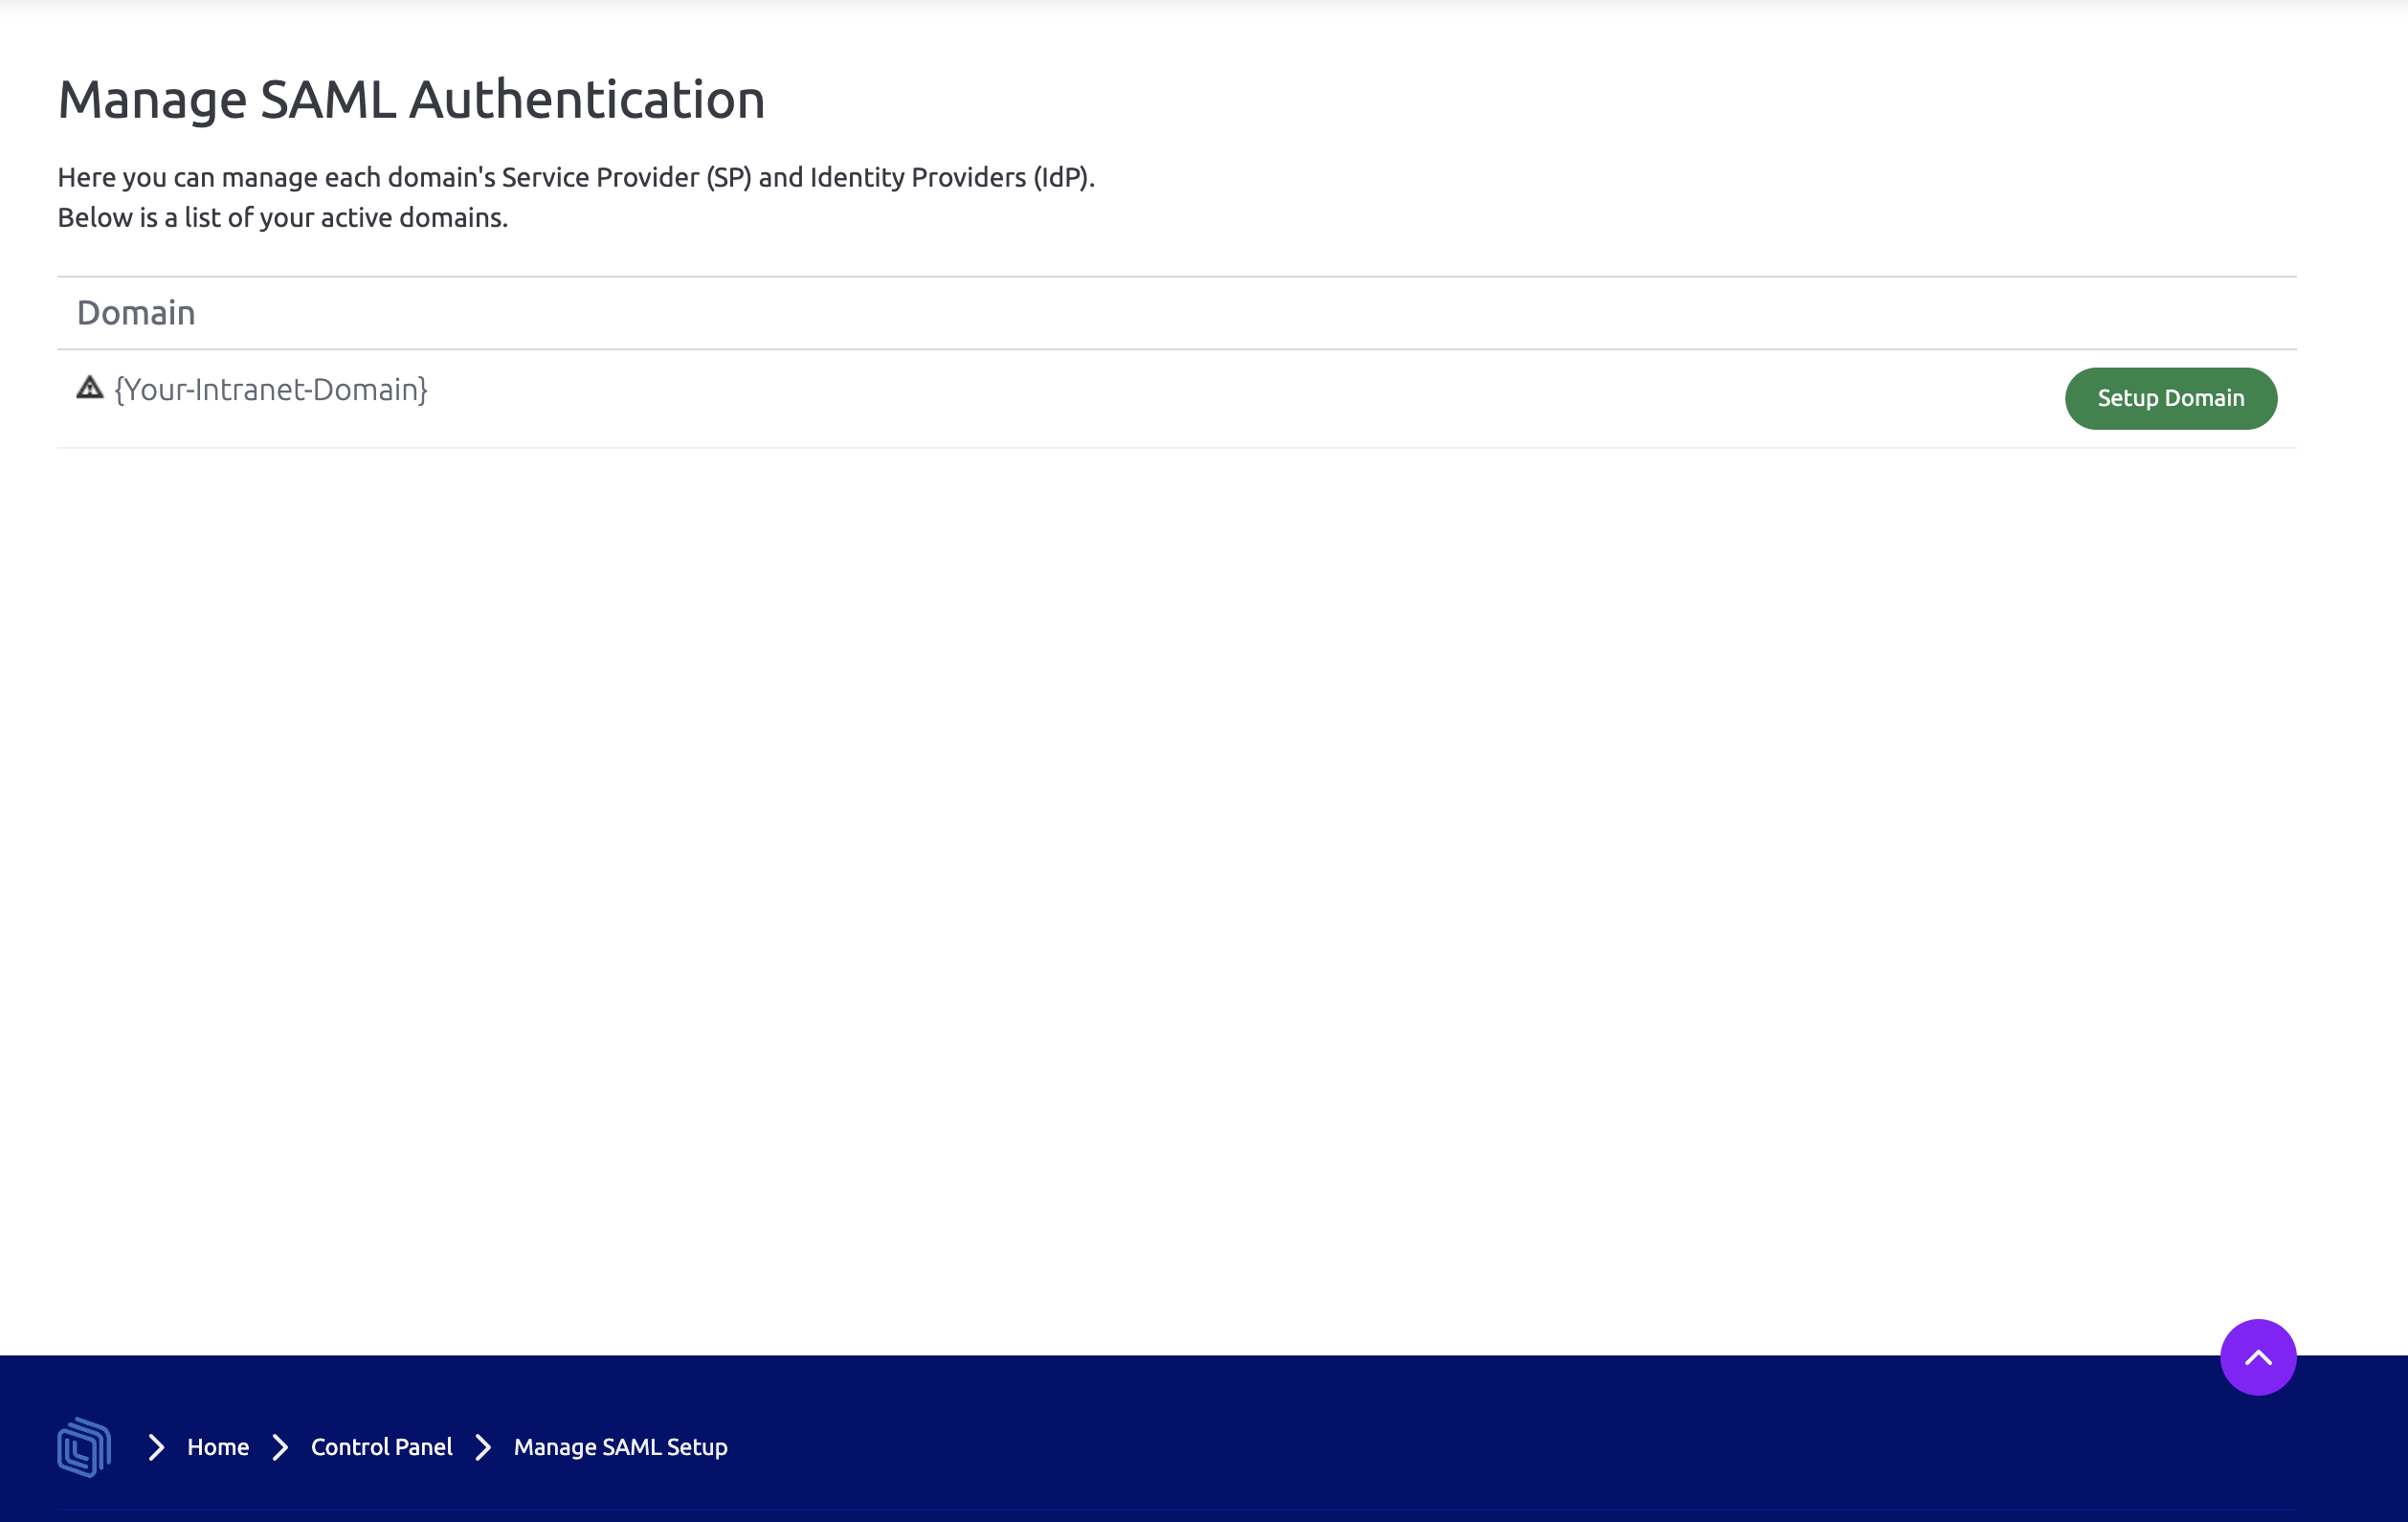
Log in to your Interact intranet and navigate to Control Panel > SAML Authentication.
If your domain is not currently set up, select Setup Domain. Otherwise, skip the next two steps.
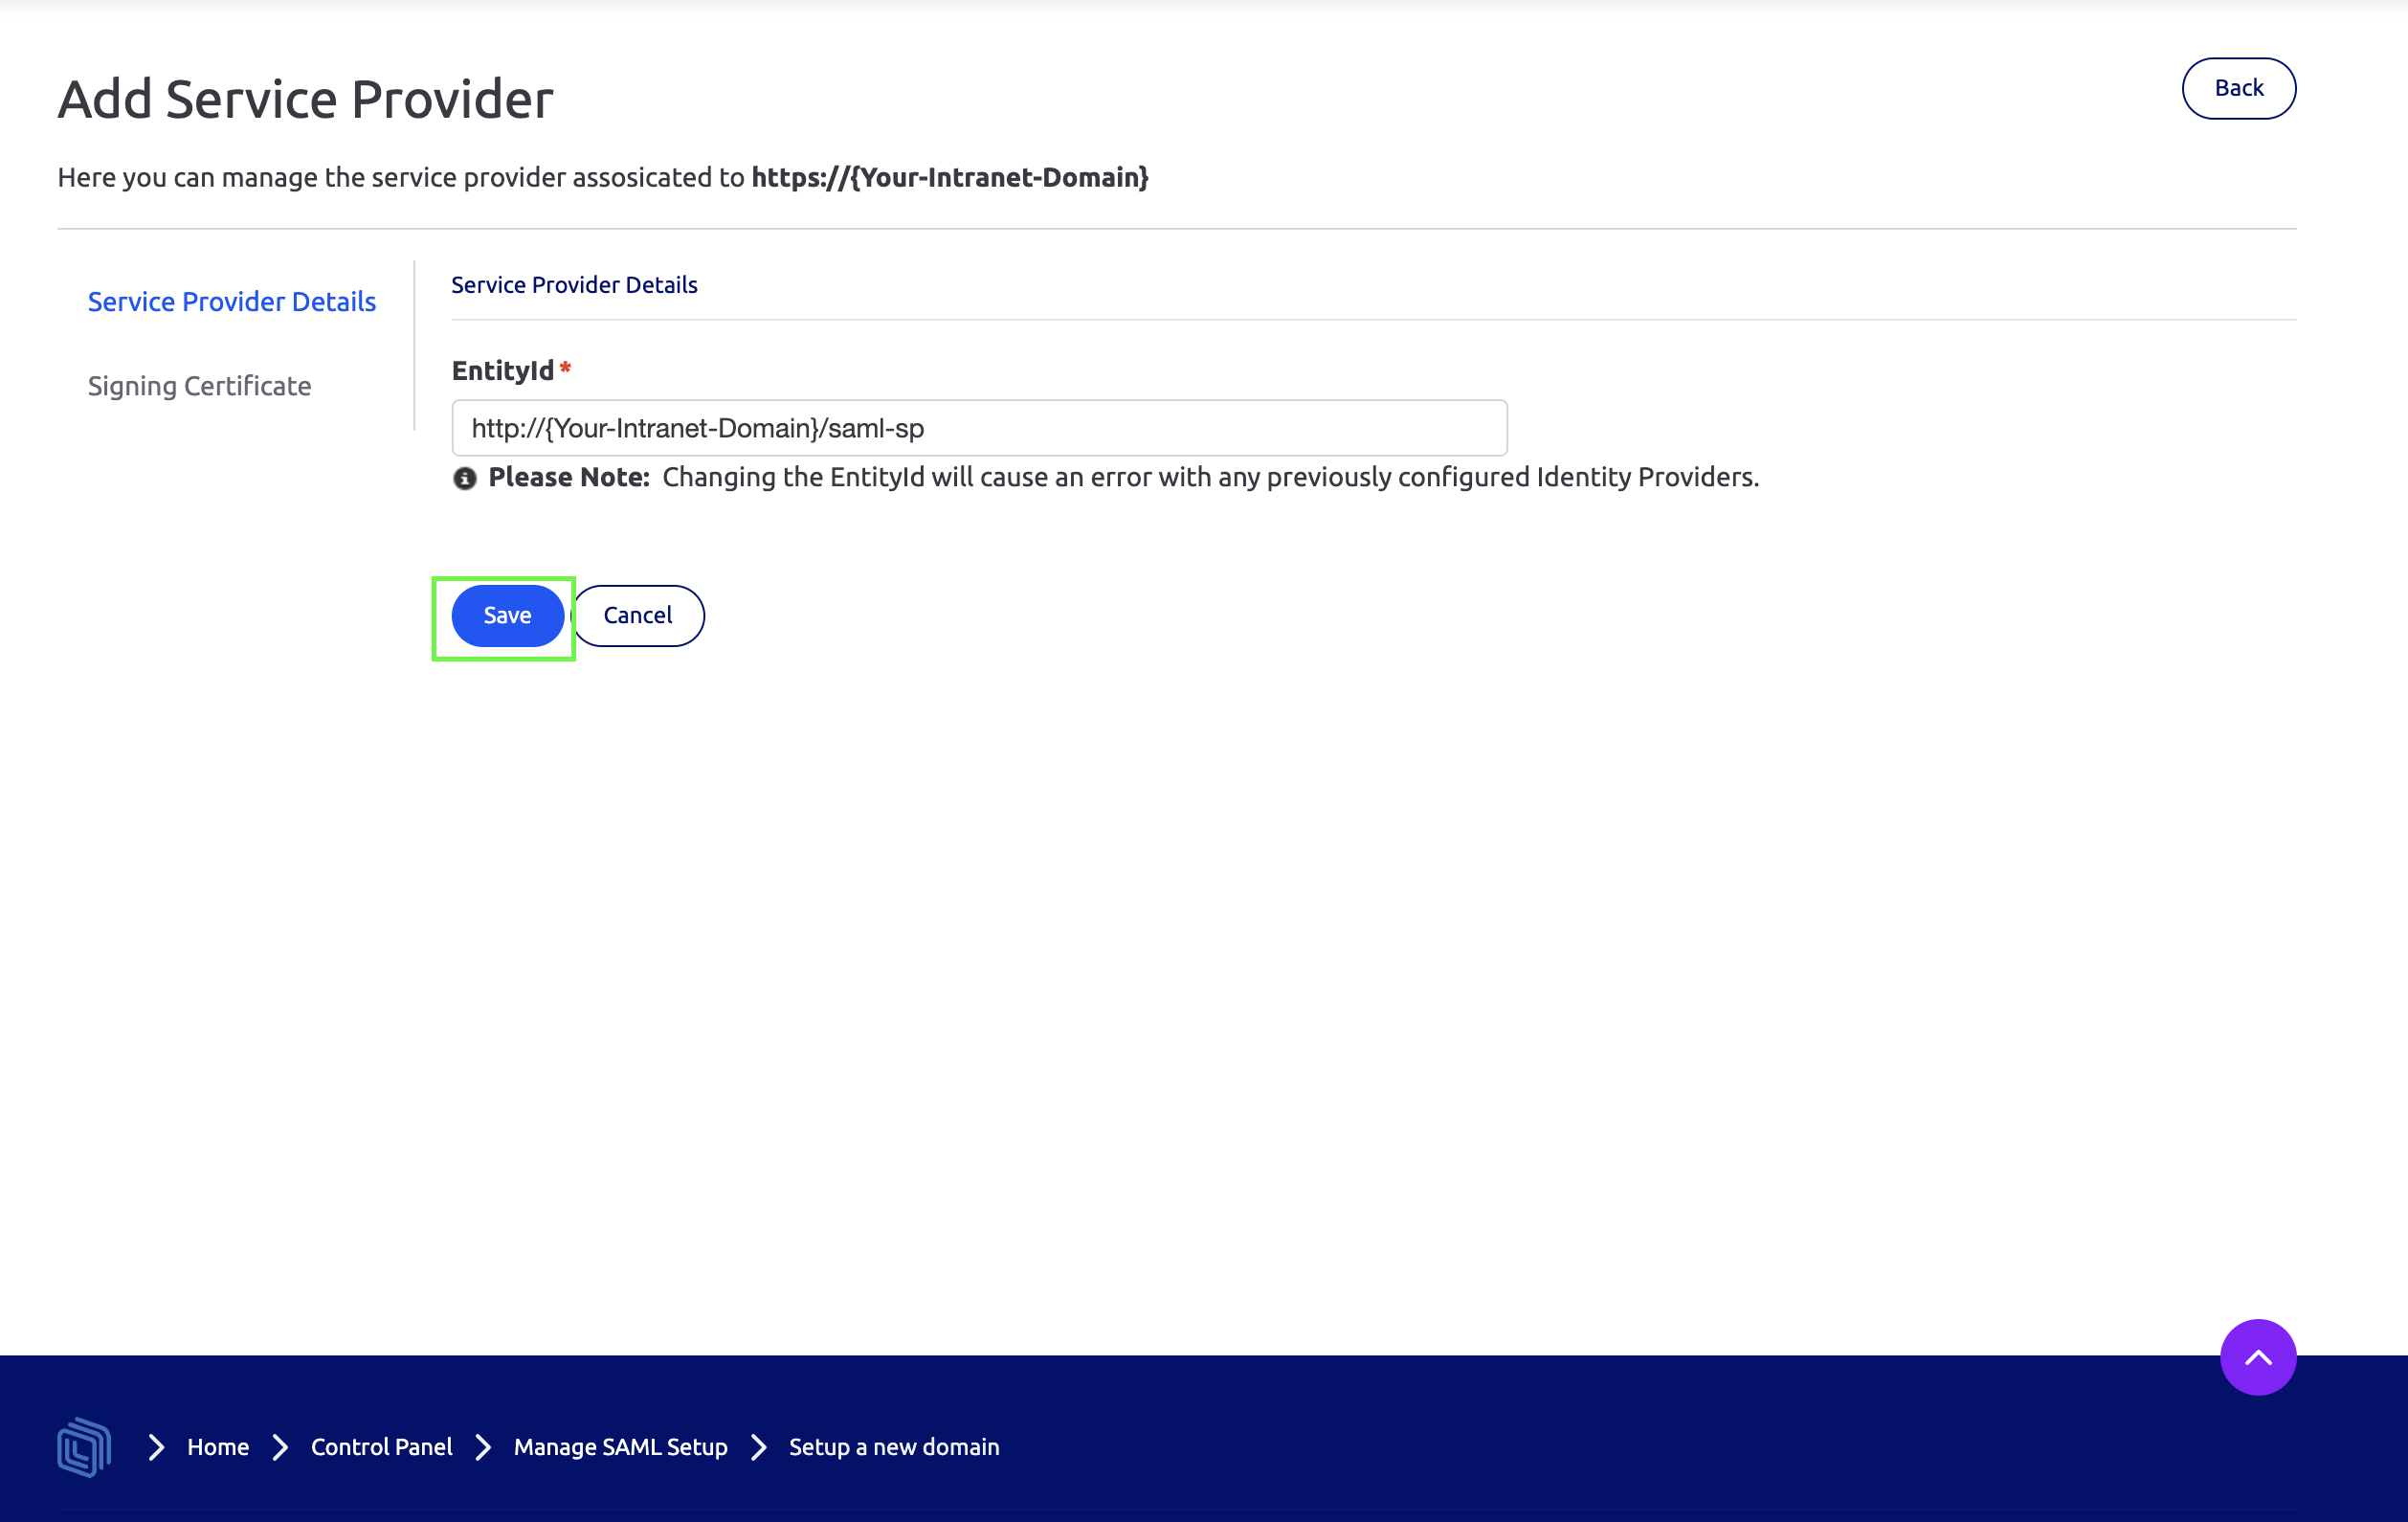
On the next page, select Save.
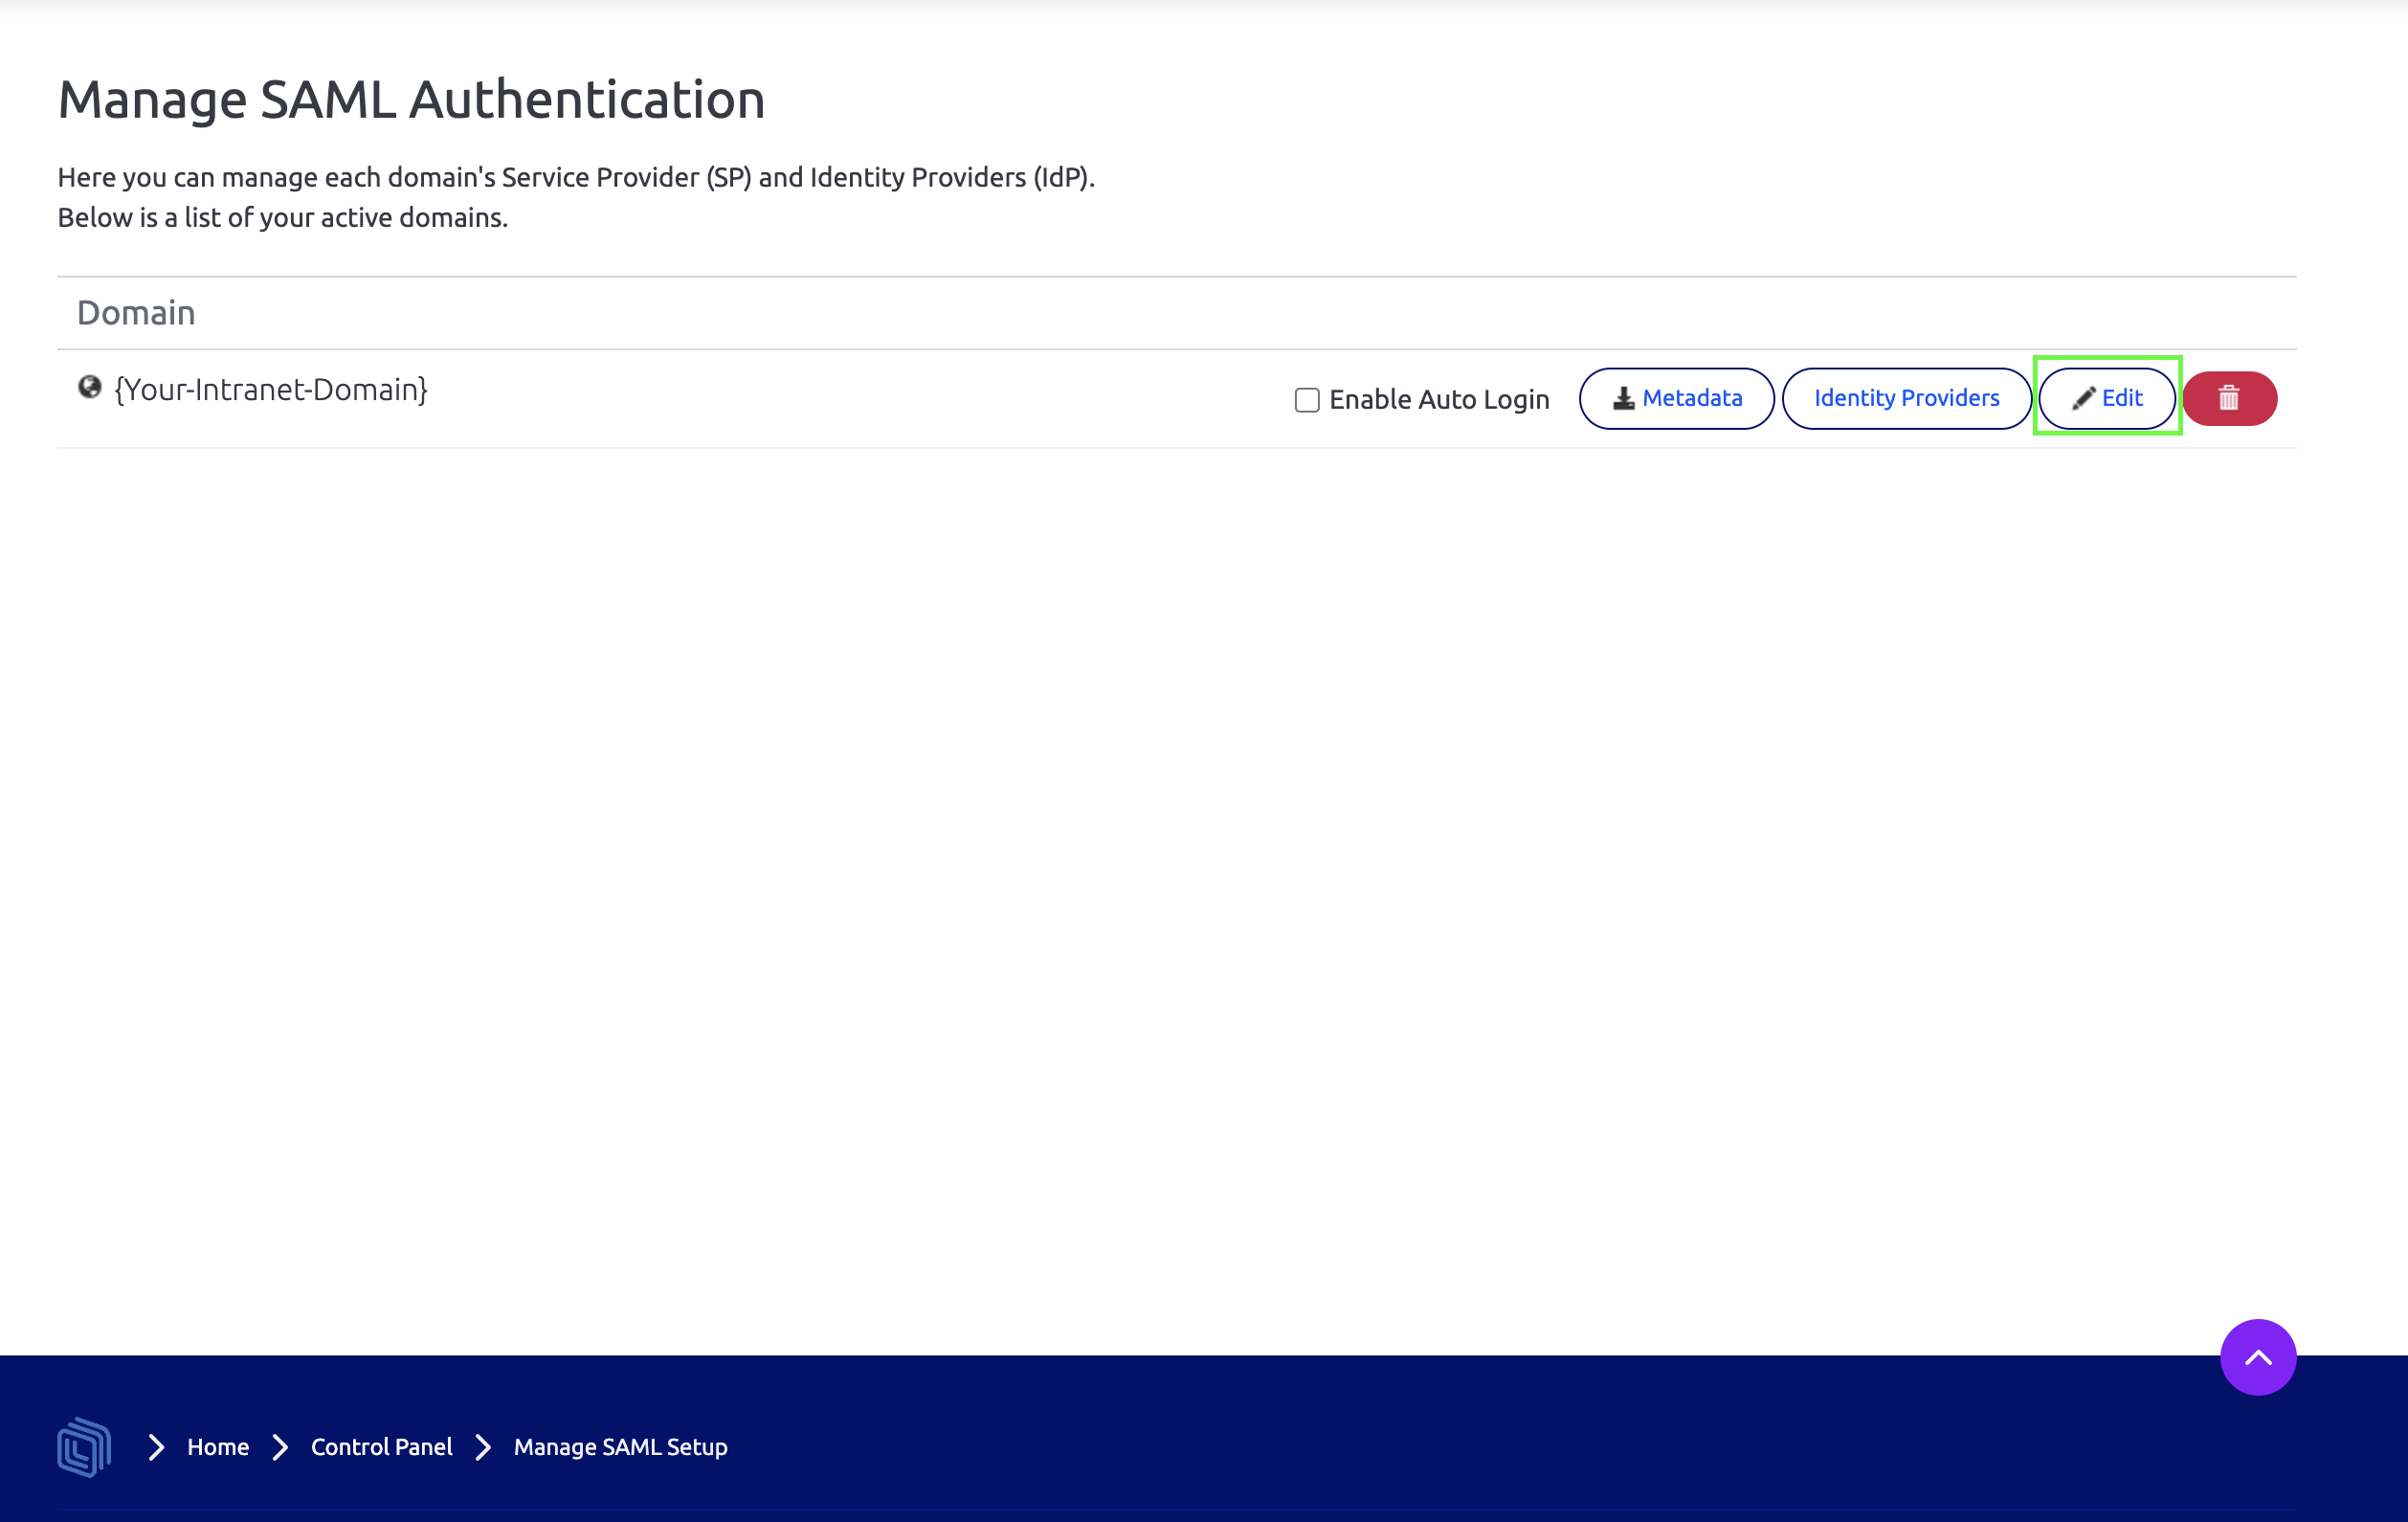
Select Edit for the domain you are working against.
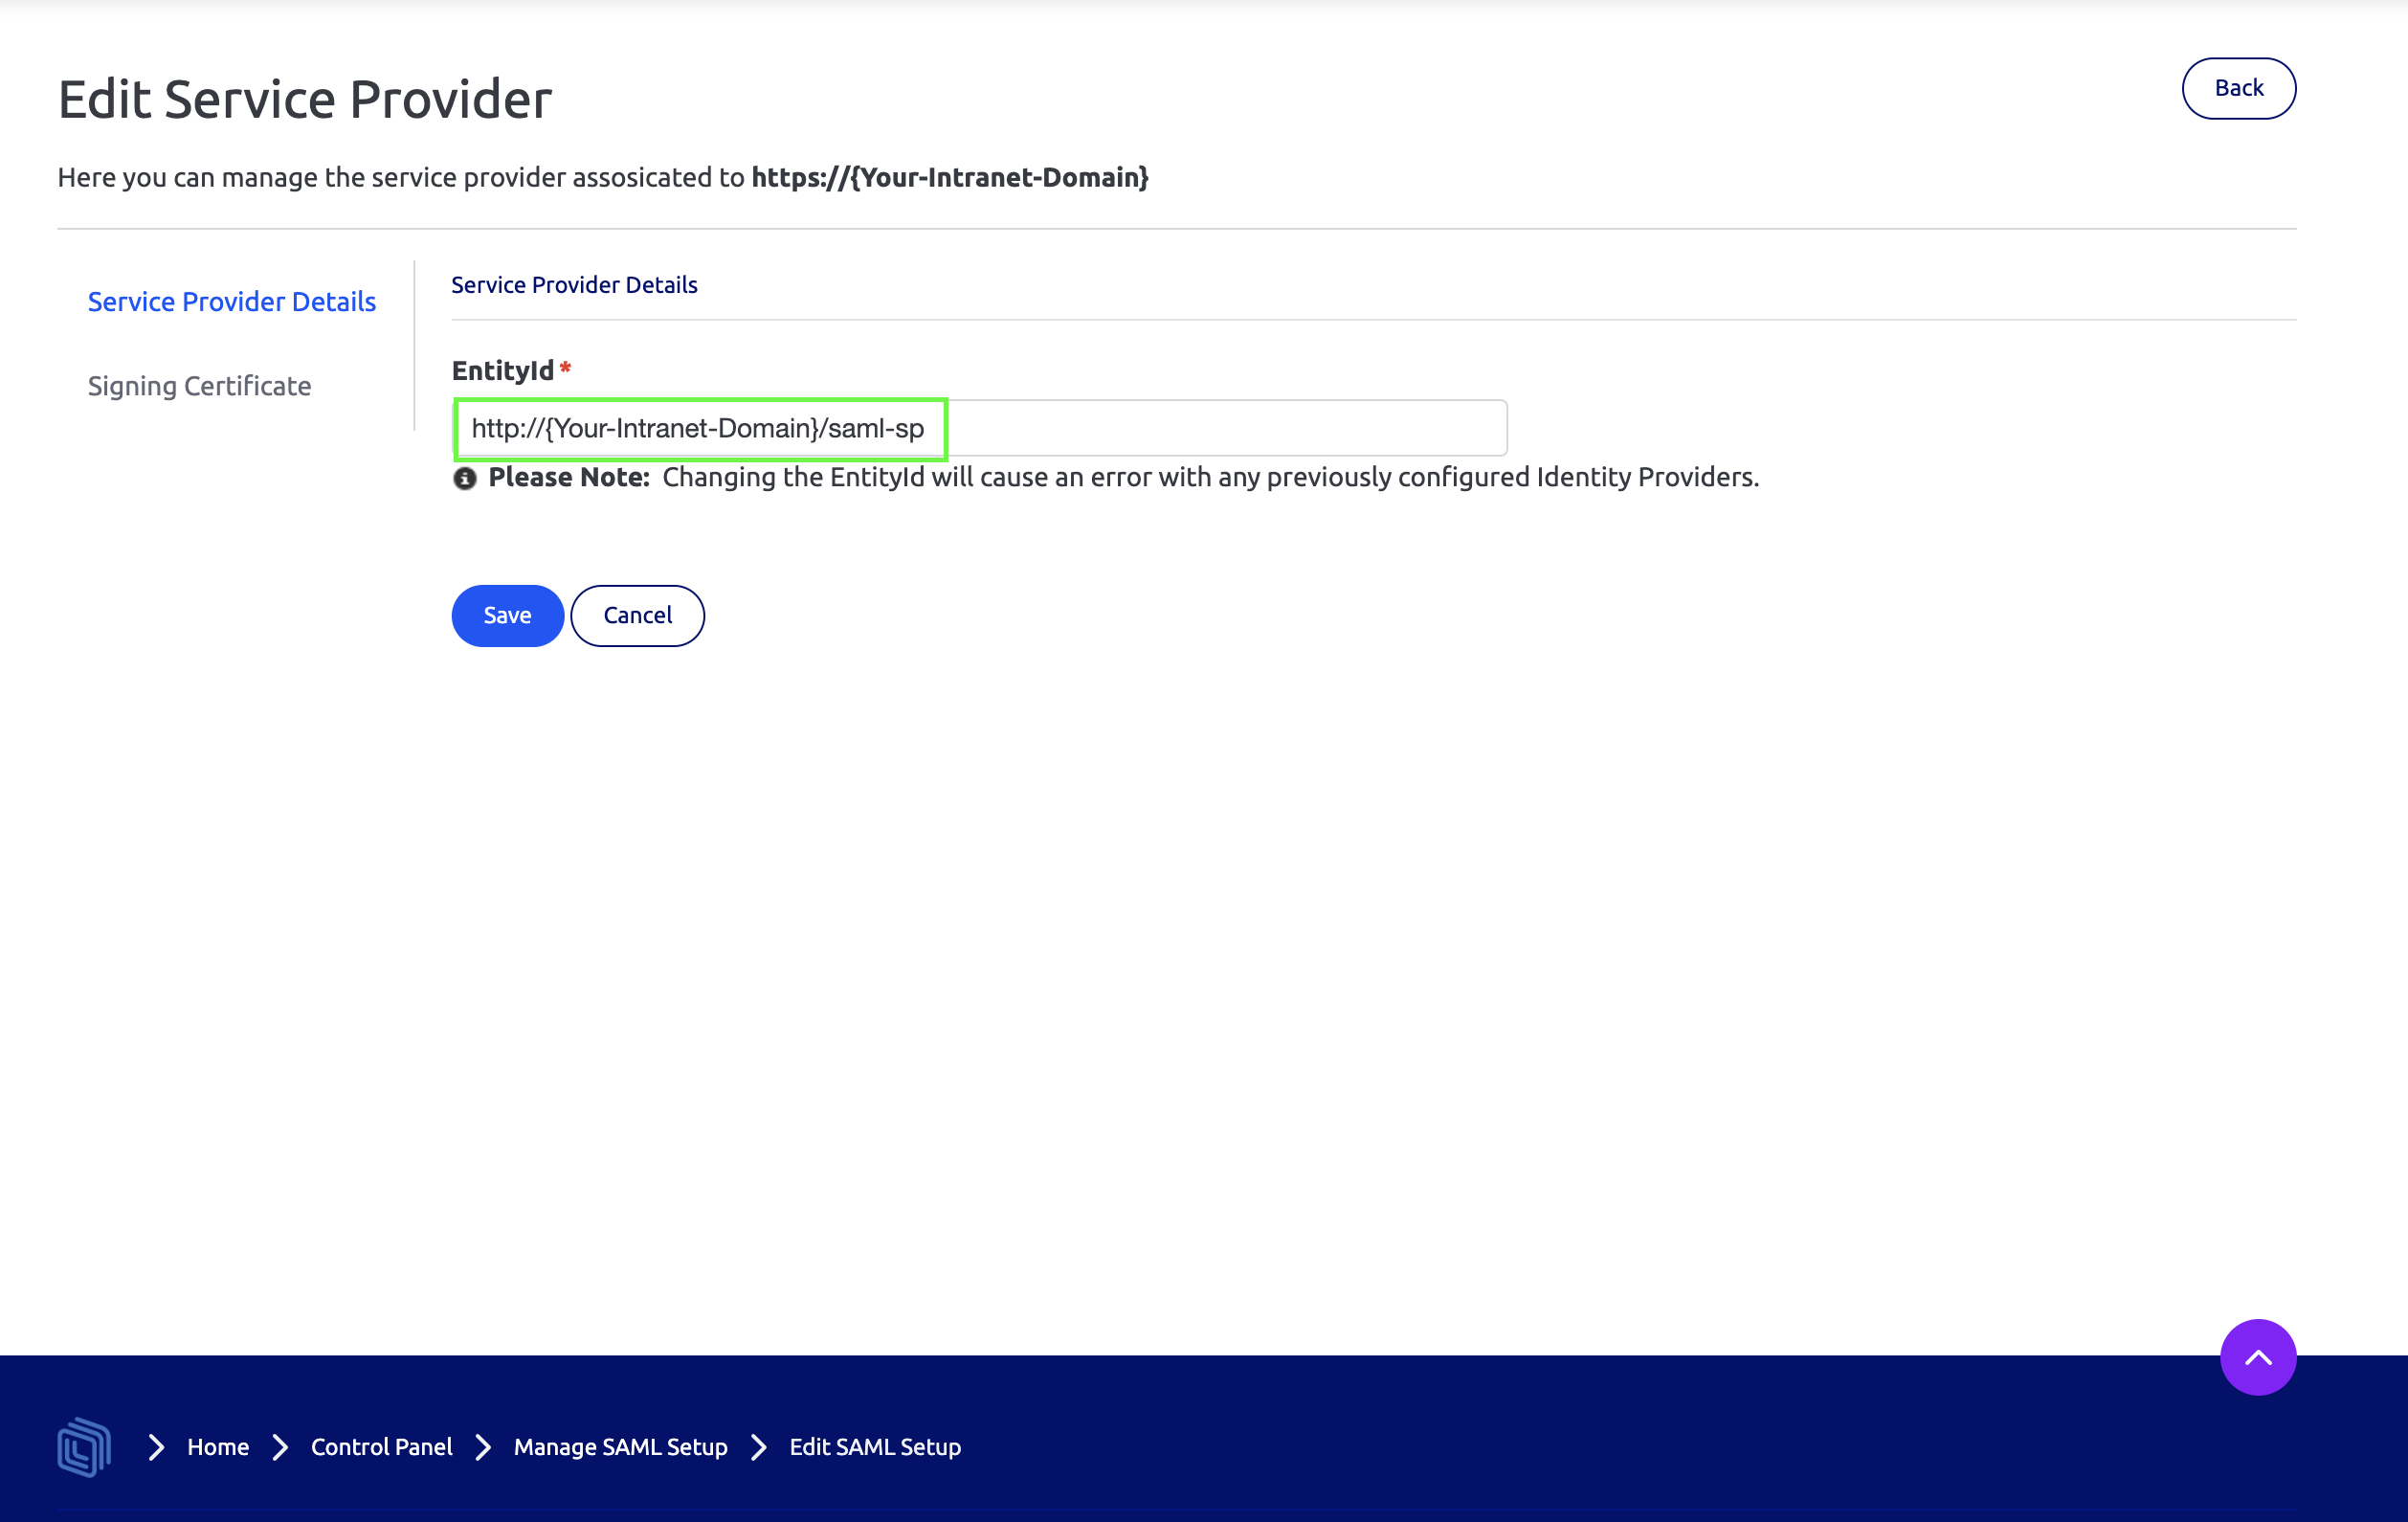
On the next screen, copy the text of the EntityId.
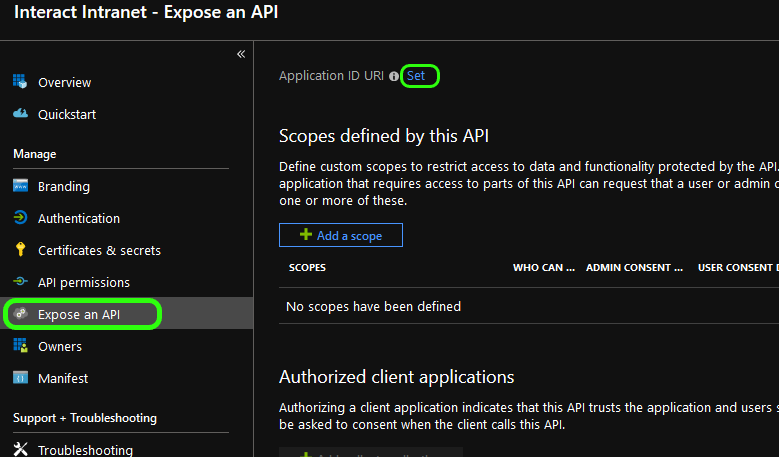
Switch back to your Entra ID portal. From the side sub-menu, select Expose an API, then in the main pane select Set to set the Application ID URI.
Paste the EntityId copied from your Interact settings into the Application ID URI.
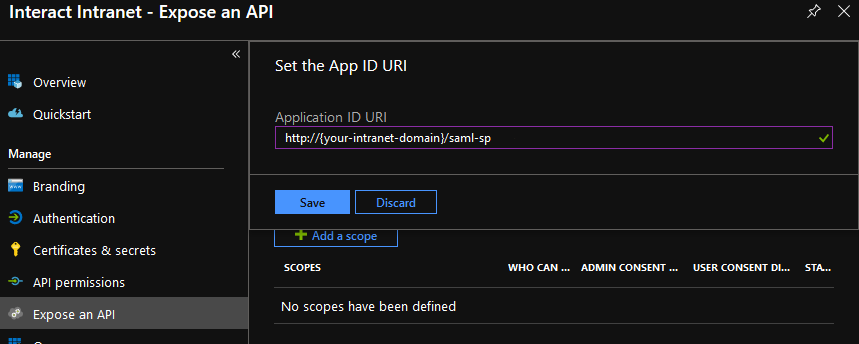
Select Save.
Note: If you use an interactgo.com URL and get an error stating that the domain is not supported, your Entra ID setup does not support this domain. In this case, set up a value like
api://{{some_unique_name}}inside the "Set the App ID URI" field. Then copy this value to Interact, replacing the existing EntityId withapi://{{some_unique_name}}.
Step 5: Build the metadata URL
You need your Entra ID domain name to form the metadata URL. Find it by selecting Microsoft Entra ID from the main side menu, then Custom domain names from the sub-menu. Your domain name is in the pane to the right.
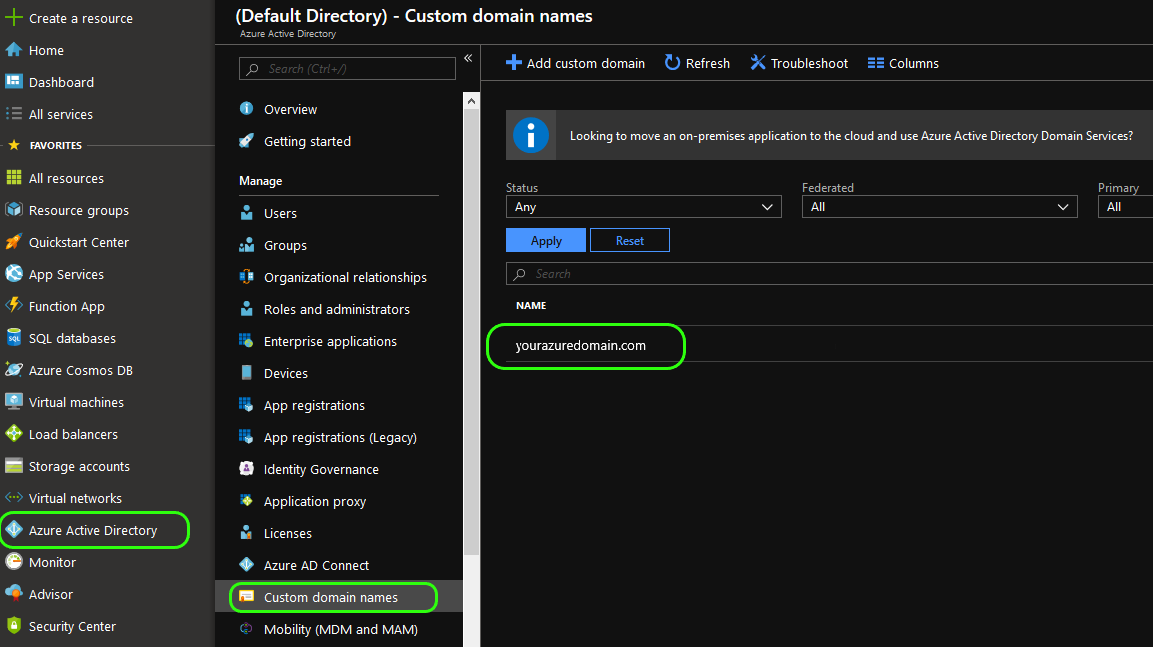
The Entra ID metadata URL is formatted as follows:
https://login.microsoftonline.com/{{your_domain_name}}/federationmetadata/2007-06/federationmetadata.xml
Replace {{your_domain_name}} with the name of your domain obtained in the previous step.
Step 6: Create an IdP in Interact
Switch back to your Interact intranet and navigate to Control Panel > SAML Authentication.
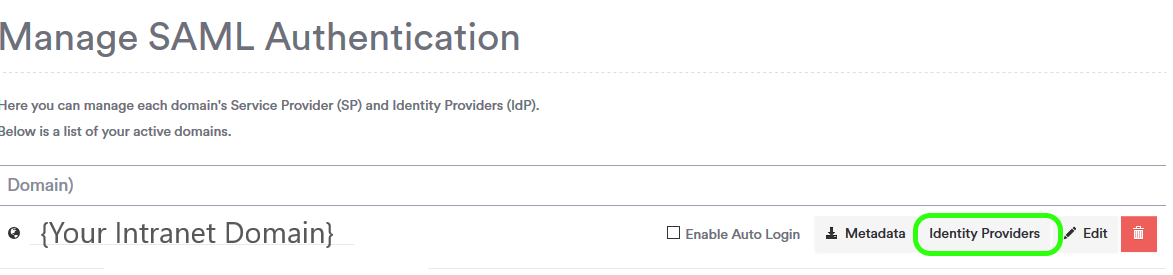
Select Identity Providers.
On the next screen, enter the metadata URL you created in Step 5 into the Metadata URL text box, then select Import as highlighted in the image below.

A new identity provider should appear in the list below.
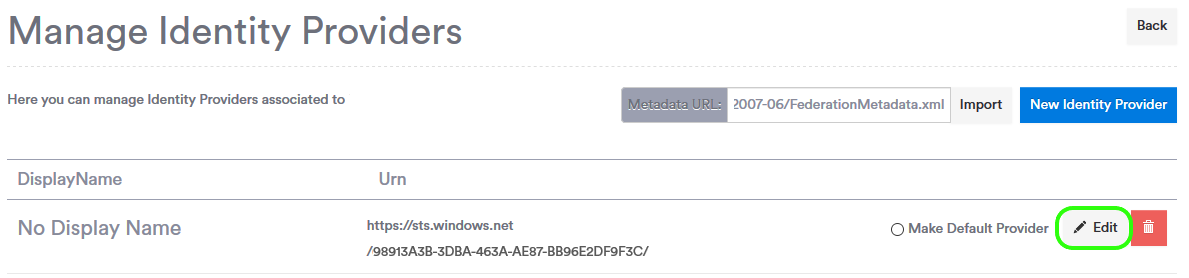
Select Edit for the newly created IdP.
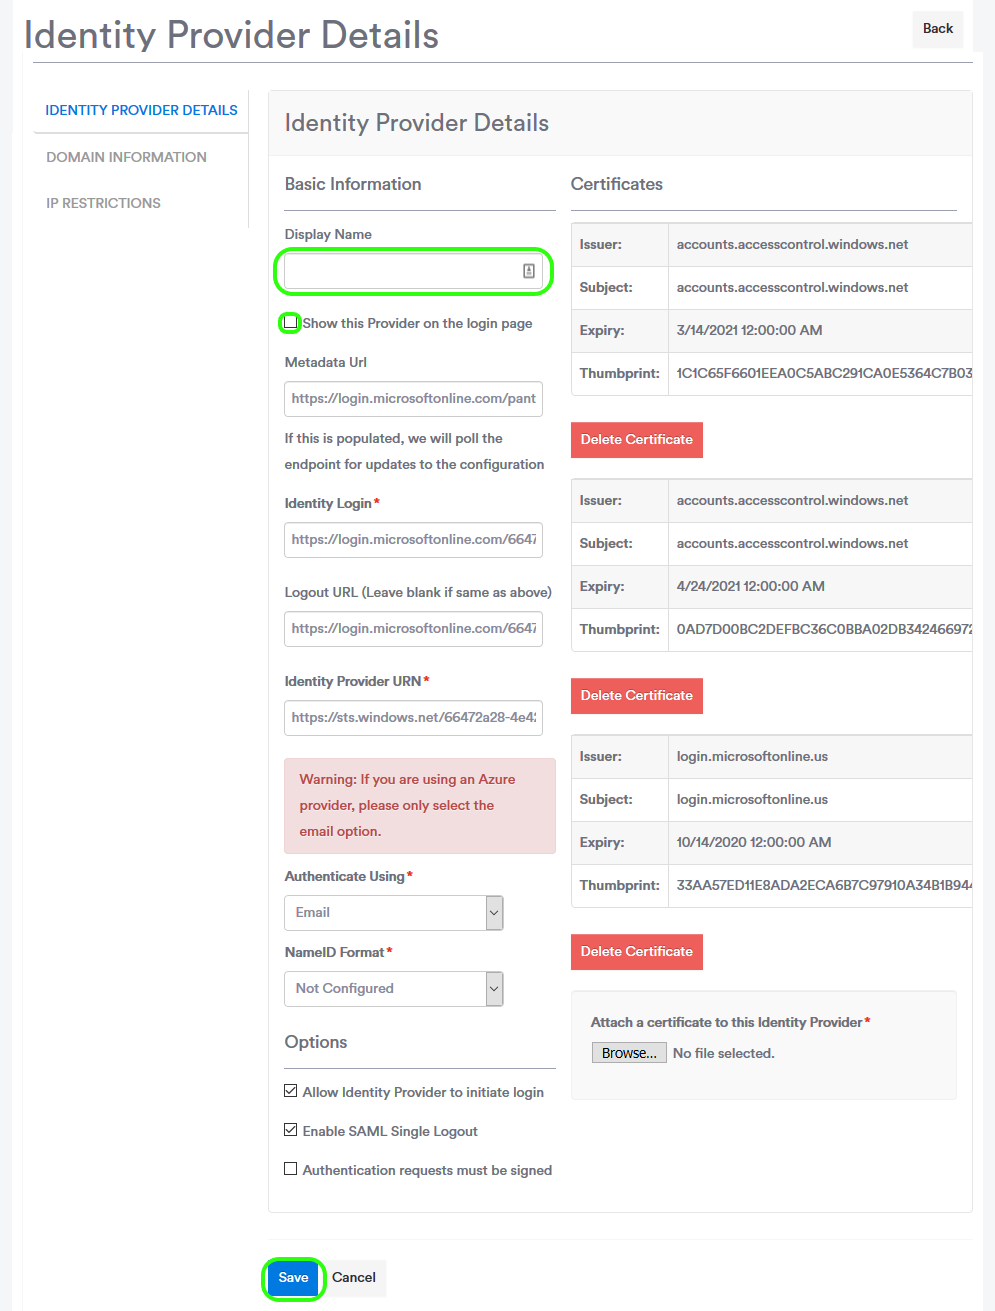
Give the identity provider a name and select whether you want it to appear as a button on the login screen for your intranet. The name you enter here is the name displayed on the button.
Select Save.
You should now be able to sign in to your intranet using your Entra ID credentials.
To enable SSO auto-login for this provider, follow the next step.
Step 7: Enable auto sign-in
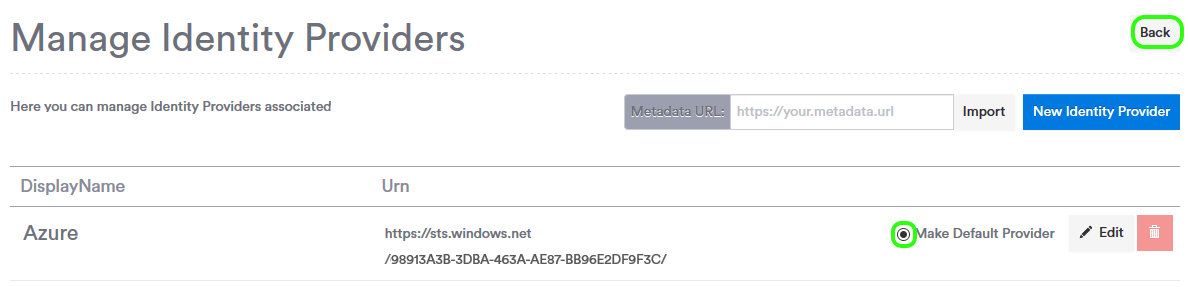
From the Manage Identity Providers page, select Make Default Provider, then select Back above the blue New Identity Provider button.
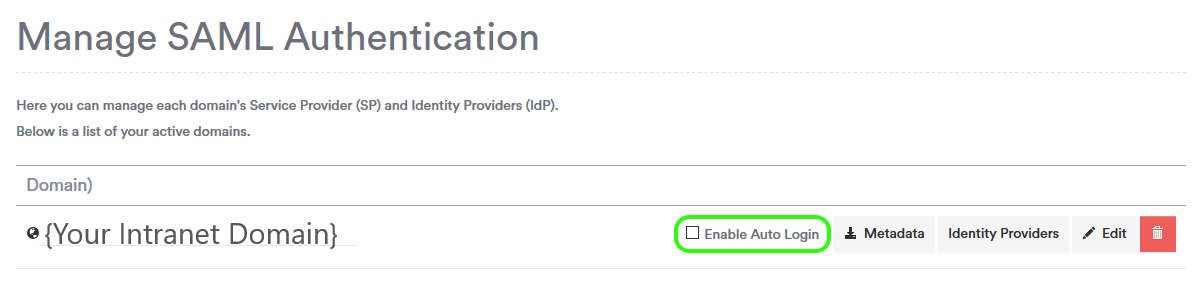
Select Enable Auto Login.
Troubleshooting
If you get the error below, it is normally because Expose an API was not configured correctly. Review the steps above and ensure that you have http (not https) and the full URL where your URL is.
AADSTS50011: The reply URL specified in the request does not match the reply URLs configured for the application: 'http://{{your_url}}/saml-sp'
If you get the error below, normally the NameID format was not configured correctly in the Identity Provider Details screen within Interact. Set the NameID to Email Address.
Unable to find a user with 'fb7e5ae2-e643-4f38-b872-7cc8237a1c40' as their 'email1' value
If you are getting general errors and do not know what is happening, go to the Manifest within the Entra ID app registration. The error often becomes clear here, because key information is missing in one of the fields.
If you are getting errors with SAML, this can sometimes be caused by having multiple rows within Interact in the Manage Identity Providers section. Remove the extra rows so that you are dealing with only one identity provider.
Note: Interact caches SAML settings to improve performance. If you make changes, you may need to wait ten minutes for the cache to refresh.
Known limitations of Entra ID SAML support
For more information on bugs and known issues in Entra ID SAML setup, see Microsoft's troubleshooting guidance.