Configure Microsoft Intune for Interact
Register an app in Microsoft Entra ID and configure Interact so users authenticate to the Interact app through Microsoft Intune.
Before you start
- You need the Power User role to configure MSAL authentication in Interact.
- You need access to the Microsoft Entra ID (formerly Azure AD) portal.
Overview
You need to do the following:
- Set up a new app registration in the Entra ID portal.
- Gather the Application (client) ID, Directory (tenant) ID, Redirect URI, and Application ID URI.
- Configure Interact to enable authentication via Microsoft Company Portal.
Step 1: Create an Entra ID app registration
-
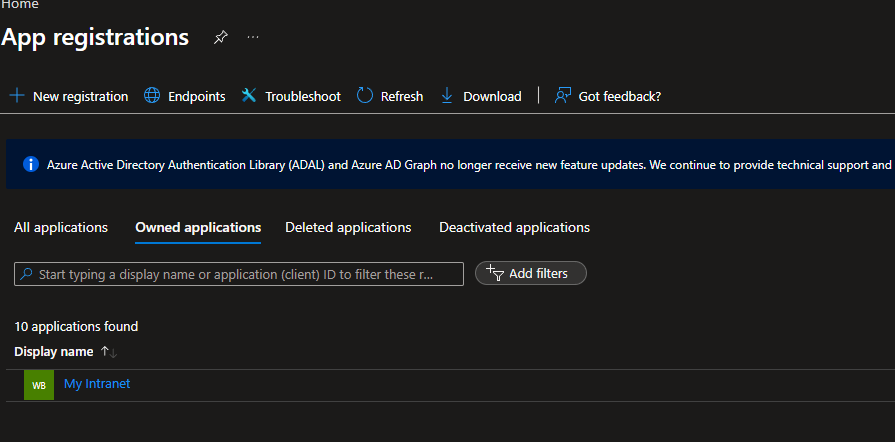
Go to the Entra ID portal and select Microsoft Entra ID > App Registrations.
-
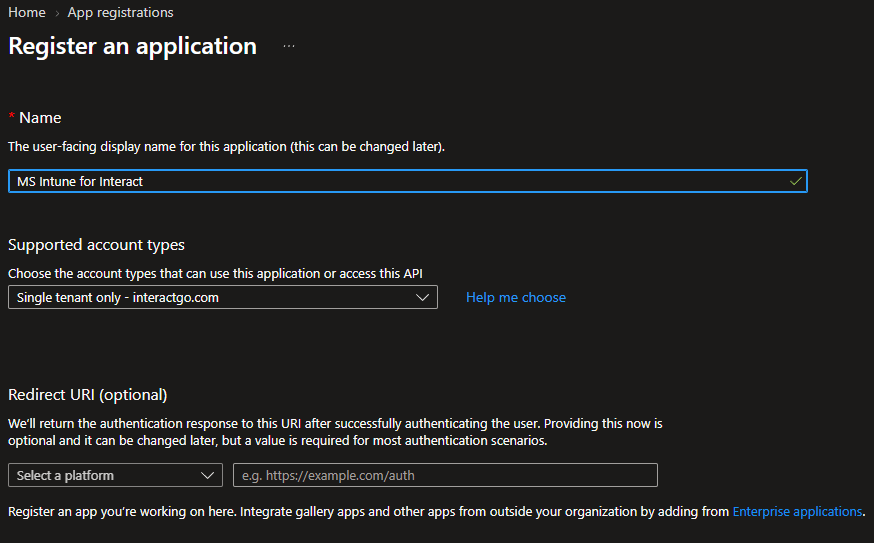
Create a New registration.
- Provide a name for your registration.
- Under Supported account types, select Accounts in this organizational directory only.
- Select Register to complete registration.
-
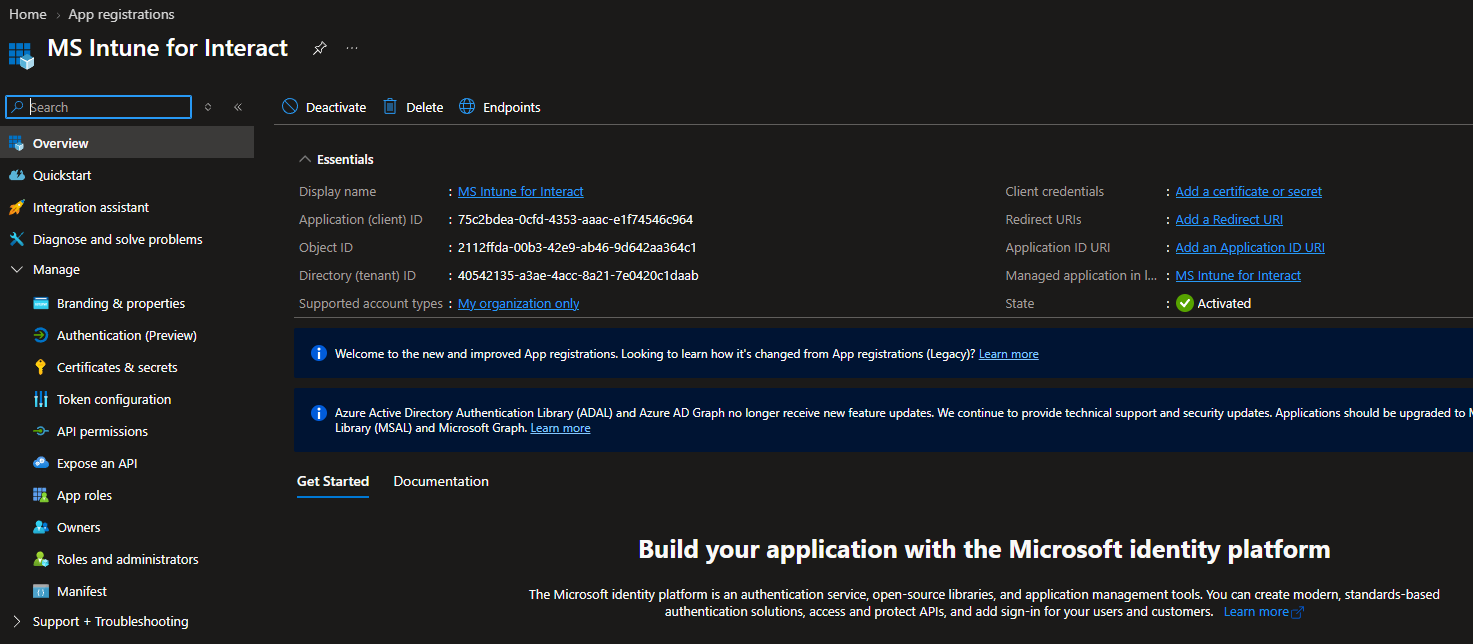
You are directed to your app's overview page. Make a note of the following properties:
- Application (client) ID
- Directory (tenant) ID
-
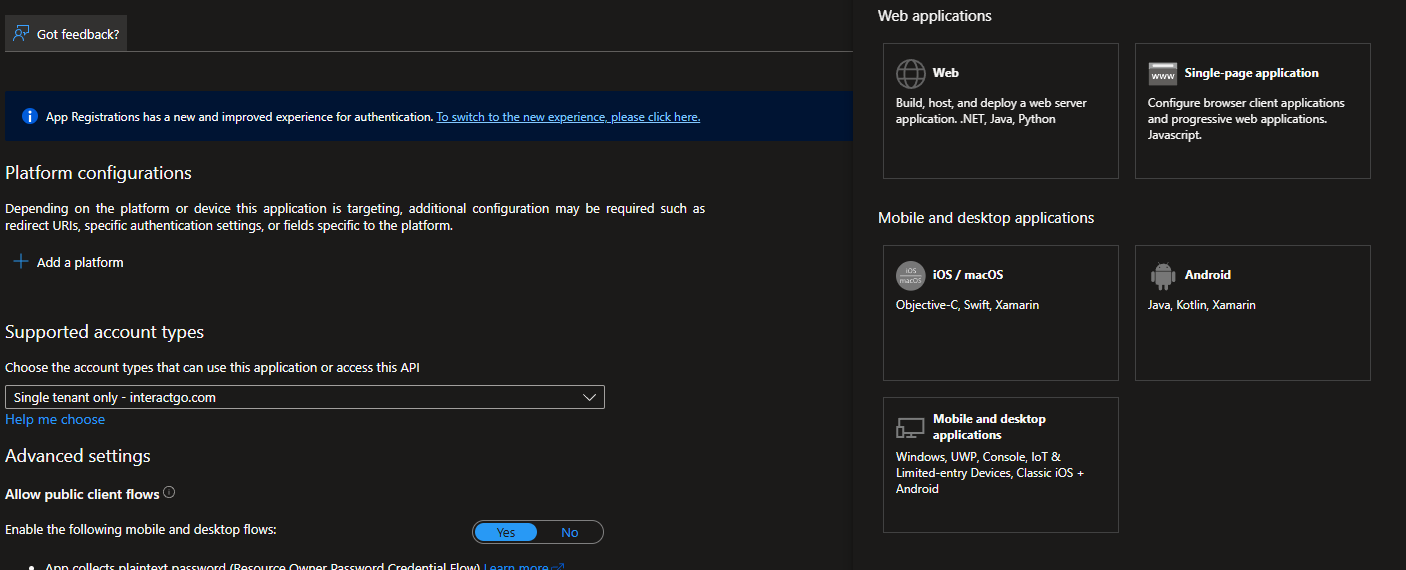
Select Authentication in the left-hand menu.
-
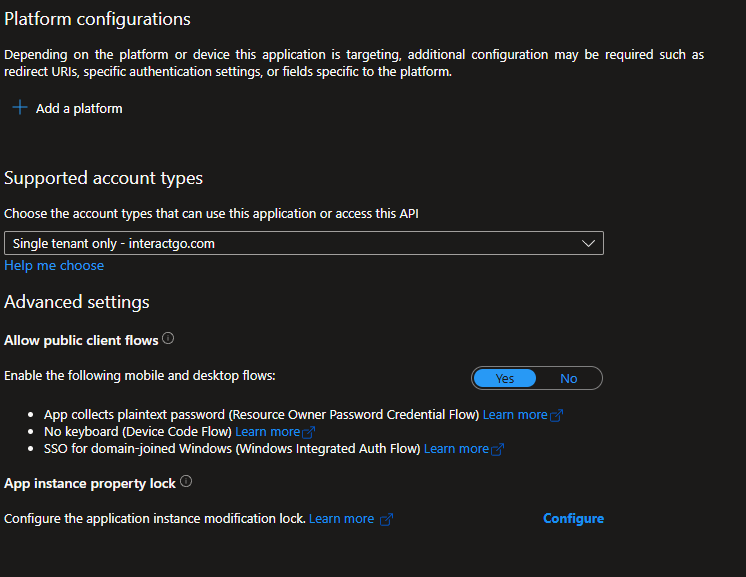
Under Settings, select Yes to allow public client flows.
-
Select Add a platform under Platform configurations.
- Depending on which platforms you need, select iOS/macOS, Android, or both.
- For each platform, specify your Bundle ID. If you do not have this to hand, Interact can provide it.
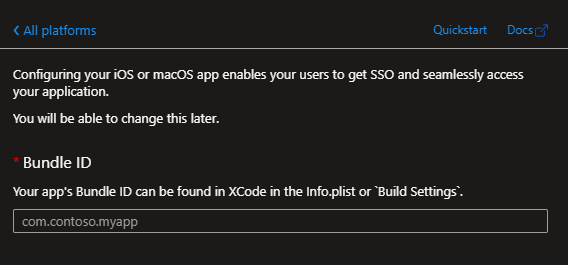
Note: If you are using the standard My Intranet app available to all customers, the required IDs are:
- Bundle ID (iOS):
com.interact-intranet.interact - Application ID (Android):
com.interactgo.interact
- Select Configure.
- Make a note of the Redirect URI. You need this later.
- Select Done.
-
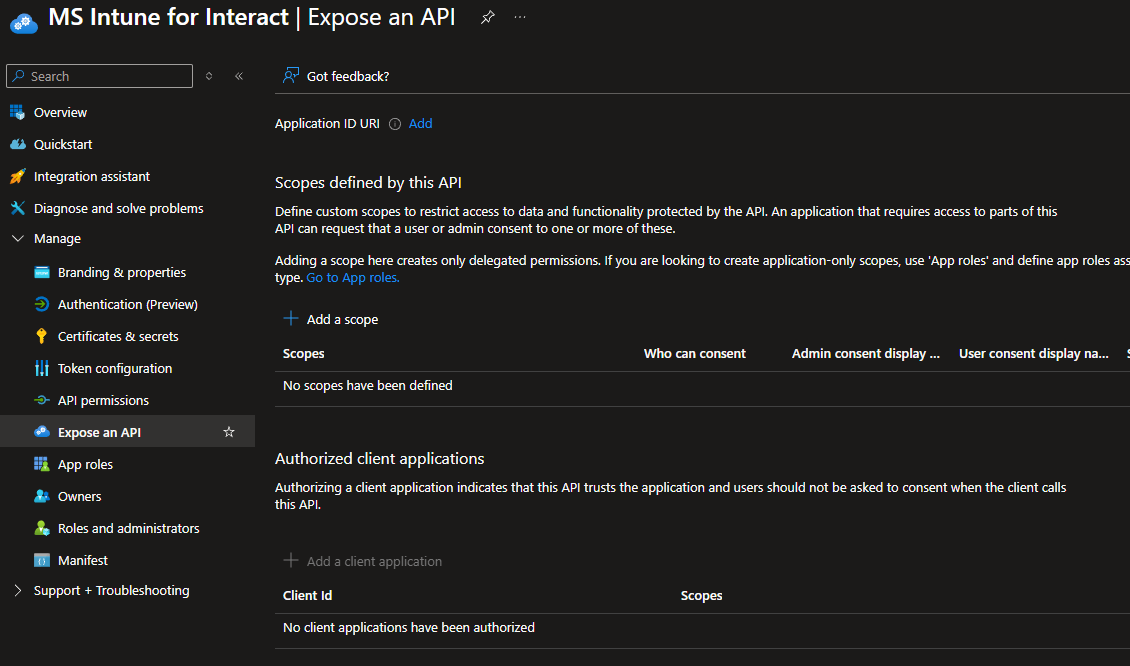
Select Expose an API in the left-hand menu.
-
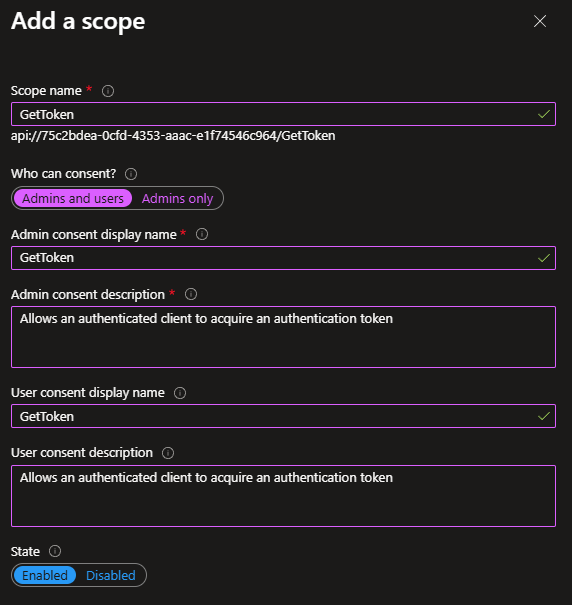
Select Add a scope under Scopes defined by this API.
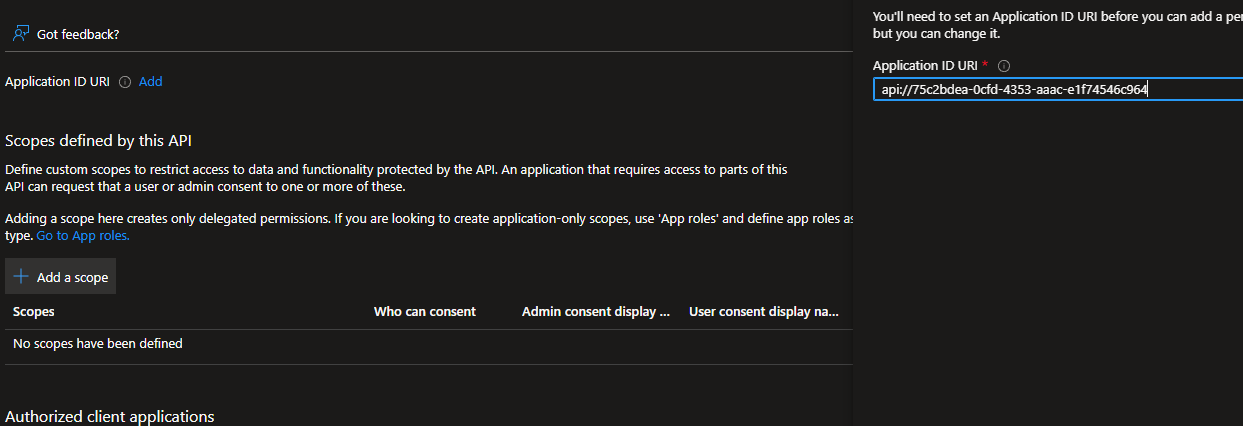
- Set an Application ID URI. Entra ID provides an ID automatically, but you can change it.
- Make a note of the Application ID URI.
- Select Save and continue.
- In the next panel, give your scope a name and ensure Admins and users is selected in the Who can consent? slider.
- Add display name and description information.
- Select Add scope.
-
Select API permissions in the left-hand menu.
-
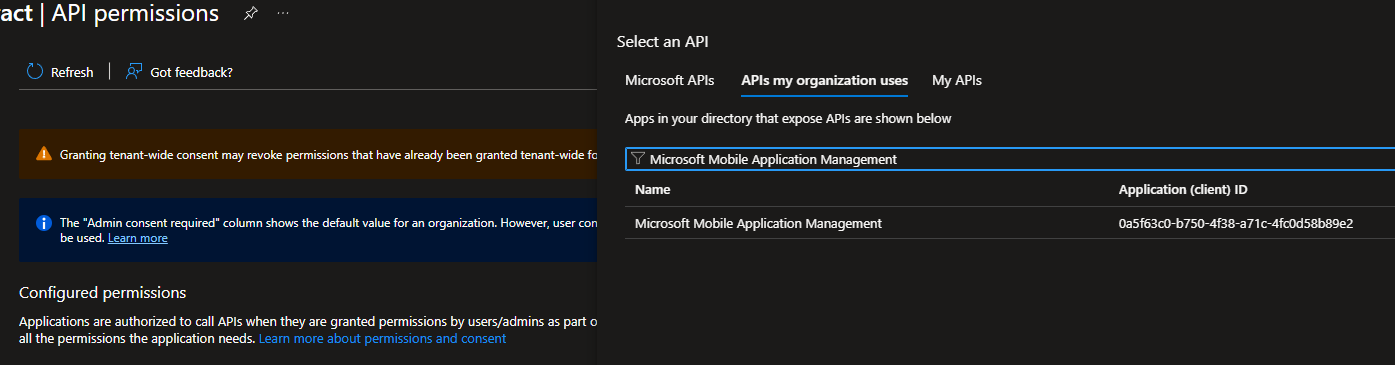
Select Add a permission under Configured permissions.
- Type Microsoft Mobile Application Management into the search field on the APIs my organization uses tab.
- Select the Microsoft Mobile Application Management entry that appears below.
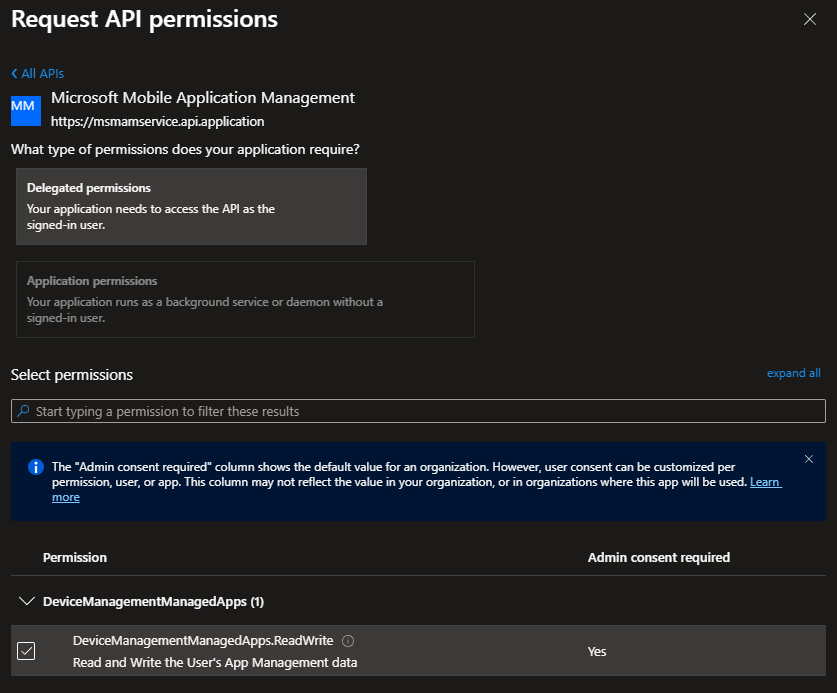
- In the next panel, ensure the Delegated permissions panel is selected and tick the checkbox next to DeviceManagementManagedApps.ReadWrite at the bottom of the page.
- Select Add permissions.
Step 2: Configure Interact for Microsoft Intune authentication
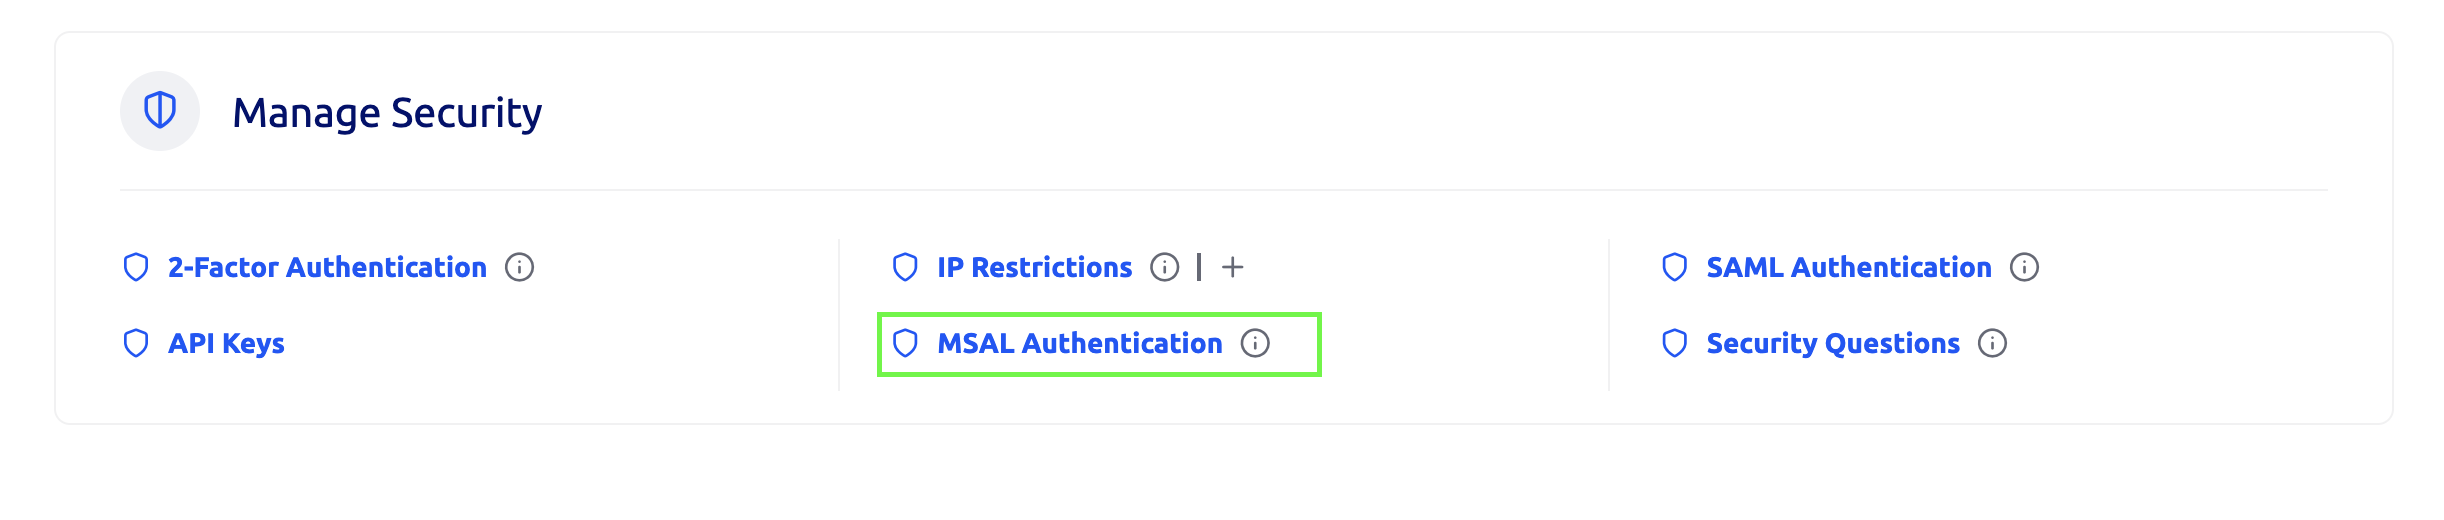
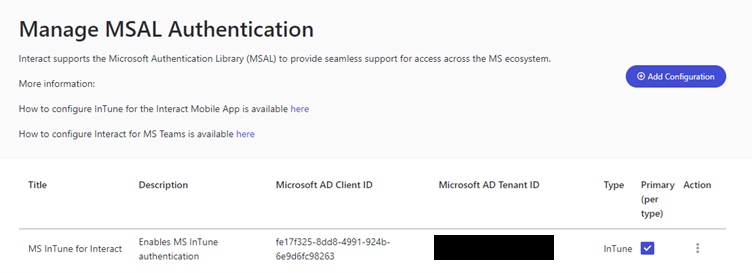
- Navigate to Control Panel > MSAL Authentication.
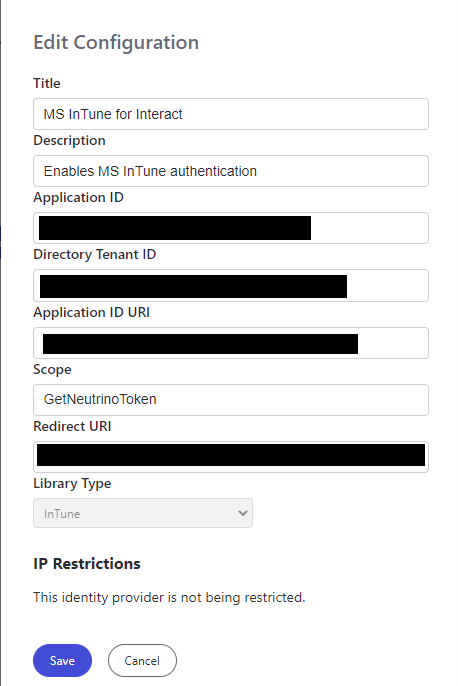
- Select Add Configuration and complete the fields in the panel:
- Title: an identifiable name for your Microsoft Intune app.
- Description: a brief description of the app.
- Application ID: the Application (client) ID you saved from the app overview in the Entra ID portal.
- Directory Tenant ID: the Directory ID you saved from the app overview in the Entra ID portal.
- Application ID URI: the Application ID URI you saved from the Expose an API section of the Entra ID portal.
- Scope:
GetNeutrinoToken - Redirect URI: the Redirect URI you saved from the Authentication section of the Entra ID portal.
Select Save.
- Microsoft Intune authentication is now configured for your intranet.
Related
Section: Platform & security