

Configuring MS Intune for Interact
This step-by-step guide details how to enable authentication into the Interact app via MSAL Intune.
Overview
You will need to do the following activities:
- Setup a new App Registration in Azure Portal
- Gather the following information: Application (client) ID, Directory (tenant) ID, Redirect URI and Application ID URI.
- Configure Interact to enable authentication via MS Company Portal
Creating an Azure App Registration
- Go to Azure Portal -> Azure Active Directory -> App Registrations

- Create a New registration.
- Provide a name for your registration
- Under 'Supported account types', select ‘Accounts in this organizational directory only’
- Click ‘Register’ to complete registration.

- You'll then be directed to your app's overview page. Make a note of the following properties:
- Application (client) ID
- Directory (tenant) ID

- Click on Authentication in the left-hand menu.
- Click on YES unser the Advanced Settings, allow public client flows

- Click 'Add a platform' under Platform configurations
- Depending on which platform(s) you need, select ‘iOS/macOS’, 'Android' or both.
- For each platform, you will need to specify your Bundle ID. If you do not have this to hand, Interact will be able to provide you with this information.


My Intranet appIf you are using the standard 'My Intranet' app available for all our customers, the required IDs are
Bundle ID (iOS): com.interact-intranet.interact
Application ID (Android): com.interactgo.interact
- Click 'Configure'.
- Make a note of the Redirect URI, you will need this for later.
- Click 'Done'
- Click on Expose an API in the left-hand menu.

- Click 'Add a scope' under Scopes defined by this API
- Then set an Application ID URI. Azure provides an ID automatically, but you are free to change this.
- Make a note of the Application ID URI.
- Click 'Save and continue'.

- In the next panel, give your scope a name and ensure Admins and users is selected in the 'Who can consent?' slider.
- Add display name and description information.
- Click 'Add scope'.

- Click API permissions in the left-hand menu.

- Click 'Add a permission' under Configured permissions
- Type 'Microsoft Mobile Application Management' into the search field in the APIs my organization uses tab.
- Click on the Microsoft Mobile Application Management that appears below.

- Then in the next panel that appears, ensure that the Delegated permissions panel is selected and tick the checkbox next to DeviceManagementManagedApps.ReadWrite at the bottom of the page.
- Click Add permissions

Configuring Interact for MS Intune authentication
- Navigate to Control Panel > Manage Security > MSAL Authentication
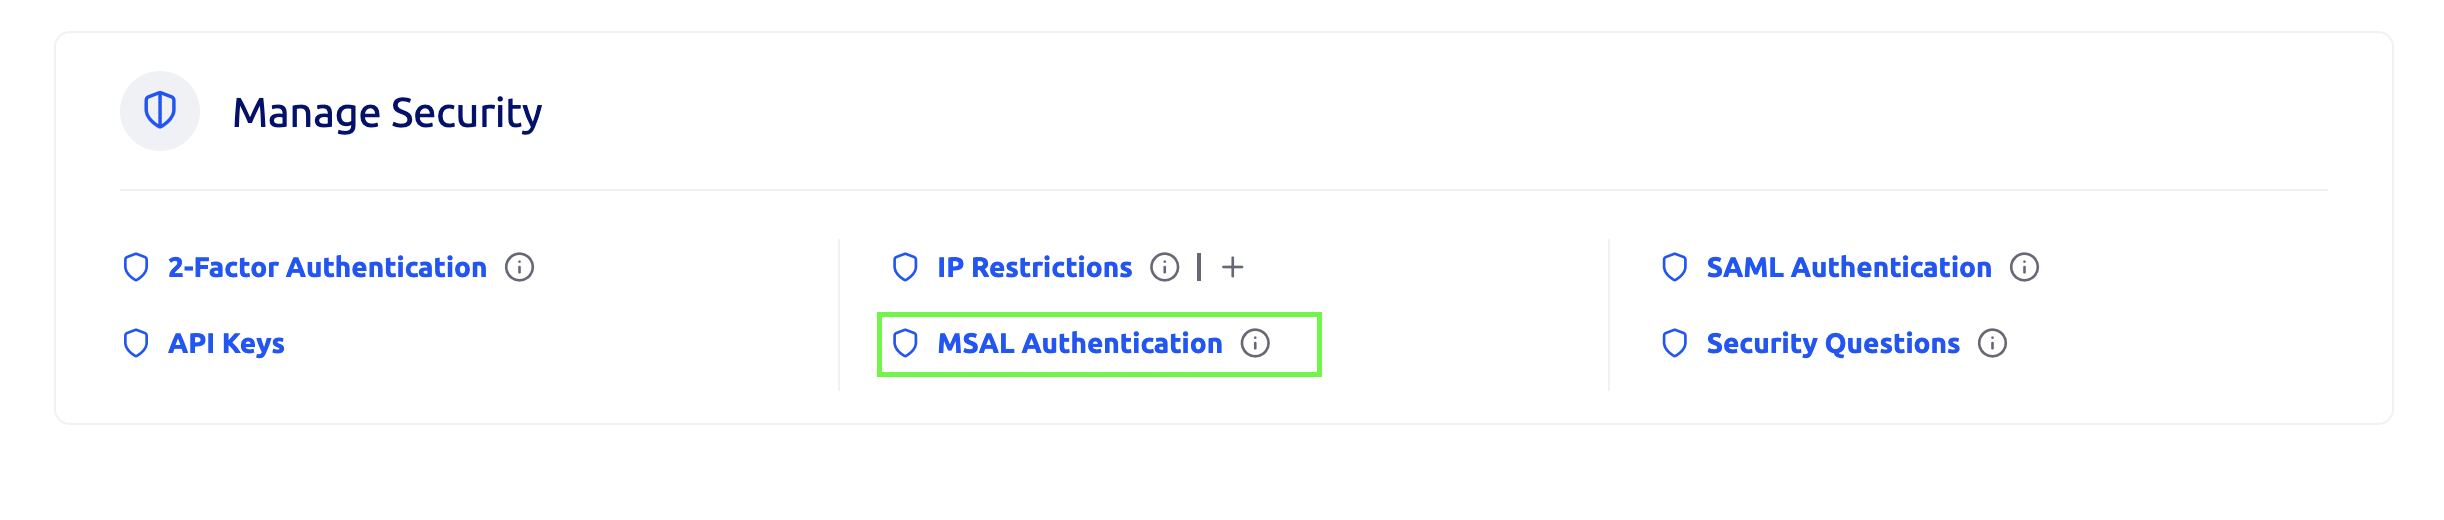
- Then click on 'Add Configuration' and add the following to the fields in the panel:
- Title: an identifiable name for your MS Intune app;
- Description: a brief description of the app;
- Application ID: the Application (client) ID you saved from the app overview in the Azure Portal;
- Directory Tenant ID: the Directory ID you saved from the app overview in the Azure Portal;
- Application ID URI: the Application ID URI you saved from the 'Expose an API' section of the Azure Portal;
- Scope: GetNeutrinoToken
- Redirect URI: the Redirect URI you saved from the Authentication section of the Azure Portal.
Click 'Save'.
.png")
- Congratulations! MSAL Intune should now successfully be configured for your intranet.

Updated 6 months ago